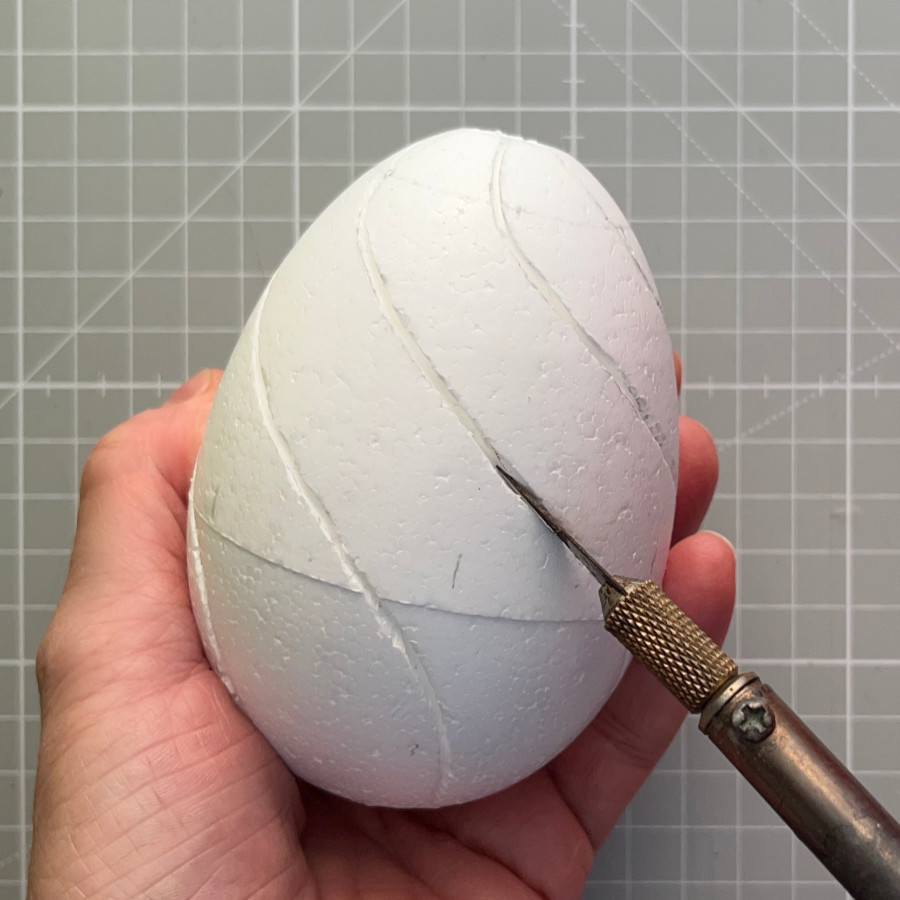
After you have drawn a pattern onto your foam shape, it’s time to cut grooves. You’ll need them to fasten the fabric to the ornament later. Make sure you cut all the lines, but of course only those that are actually part of the pattern – ignore any accessory lines or marks that you made during drawing to help you make the pattern. The tools you need for this task depend on the type of base you are using. For soft polystyrene bases, a sharp scalpel-type craft knife is the perfect tool. Very dense polystyrene bases require a hot knife.

soft or firm?


Soft foam bases have a large bead size, are easily dented in the fingernail test, and often have a irregular appearance with occasional dents and blemishes.
Dense foam bases show a small bead size, are not easily dented in the fingernail test, and usually have a smooth and regular appearance.
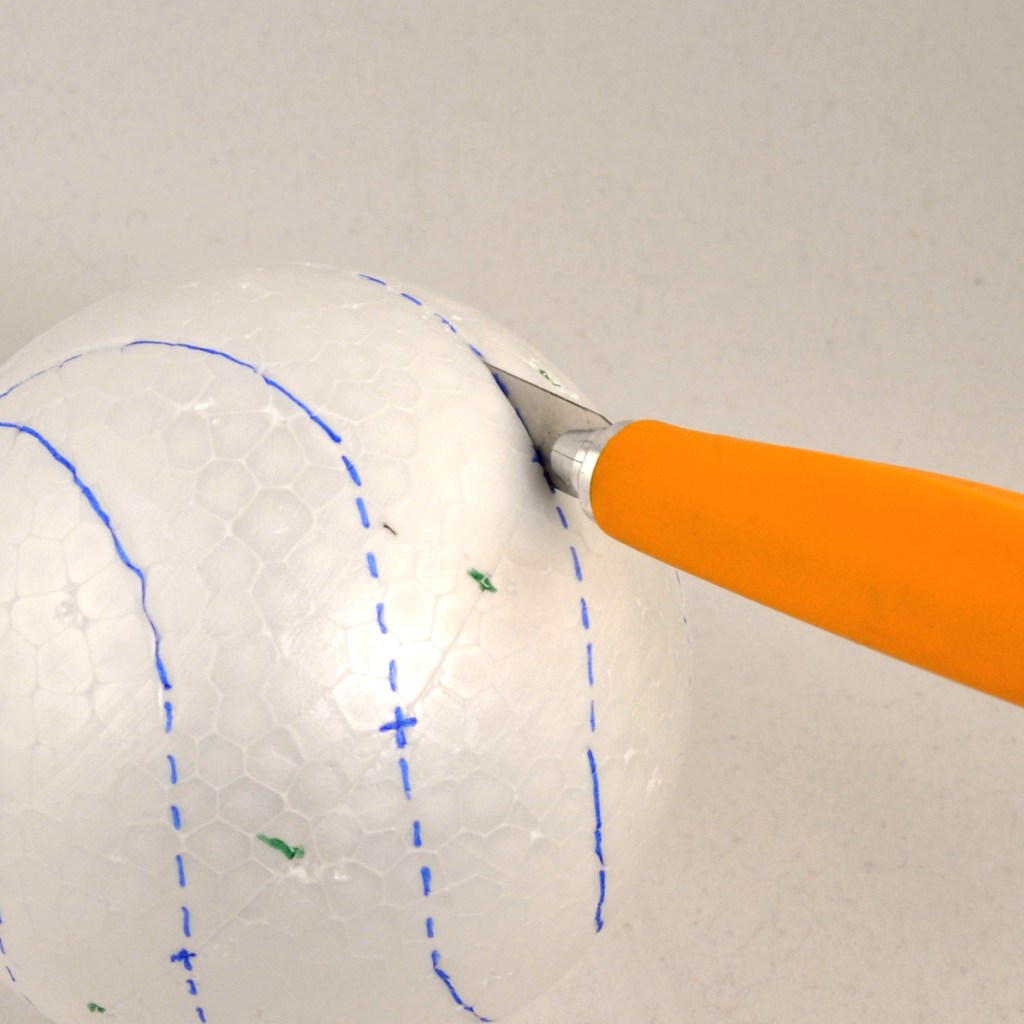
cutting soft foam bases
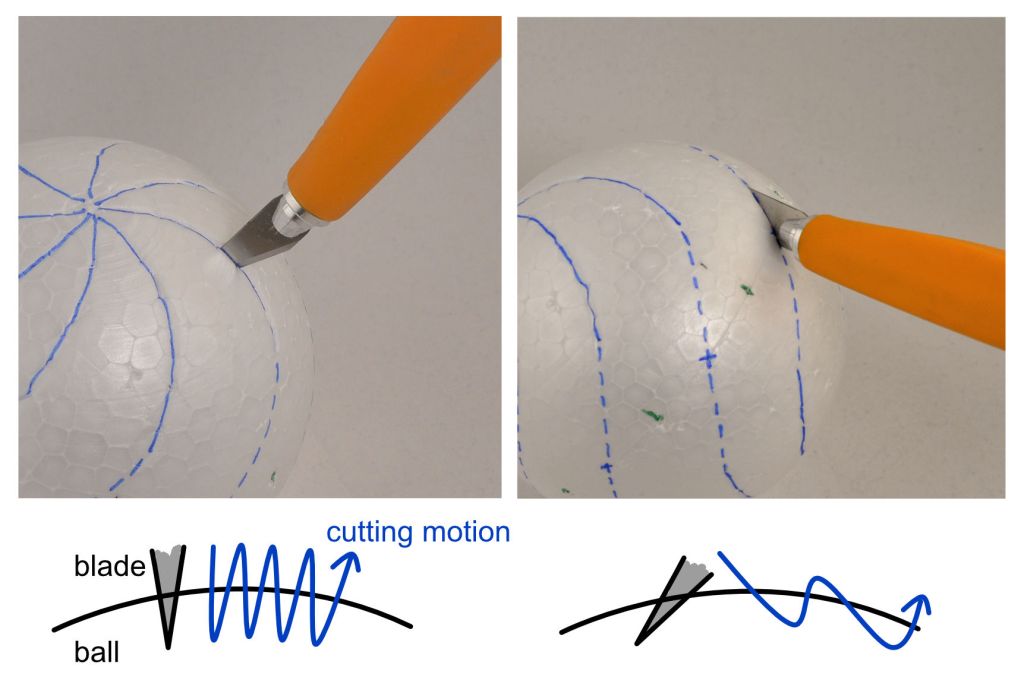
cutting with a craft knife is best done in sawing motions. For curves, keep the knife almost at a right angle to the surface of your foam base and make short strokes – this gives you more control and will help you make a curved cut. For cutting along straight lines, keep the knife at a shallow angle to the surface of your foam base to stabilize the knife, and make long, smooth cuts.
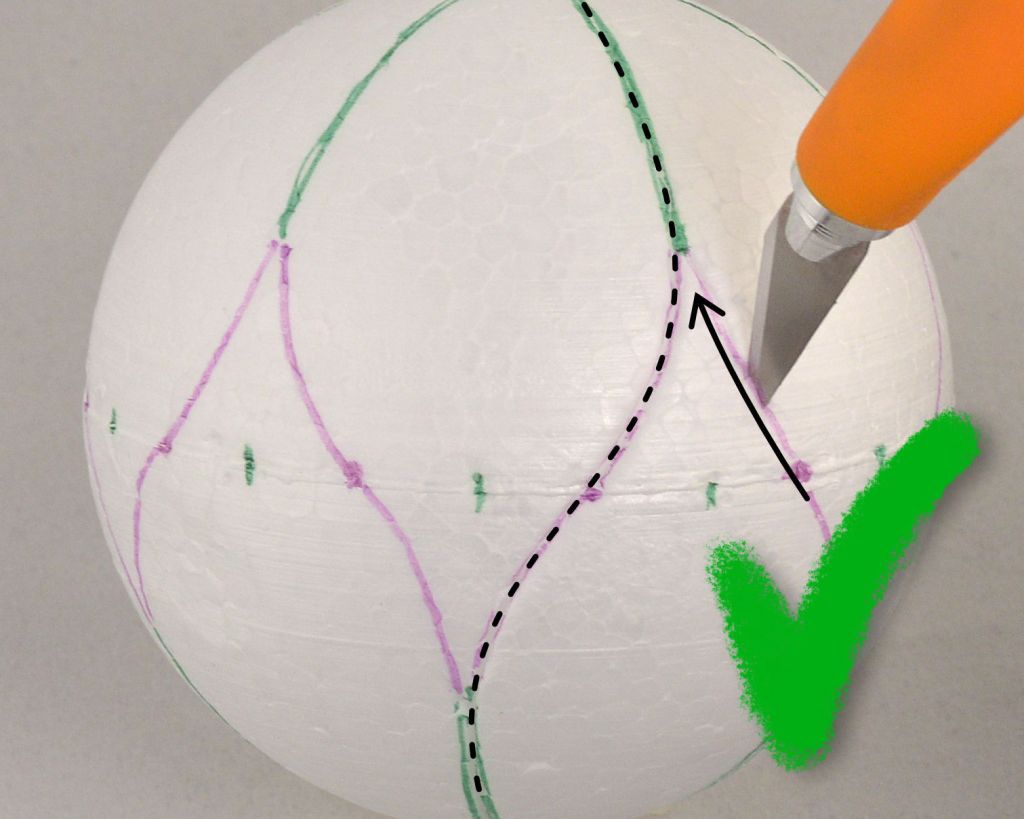
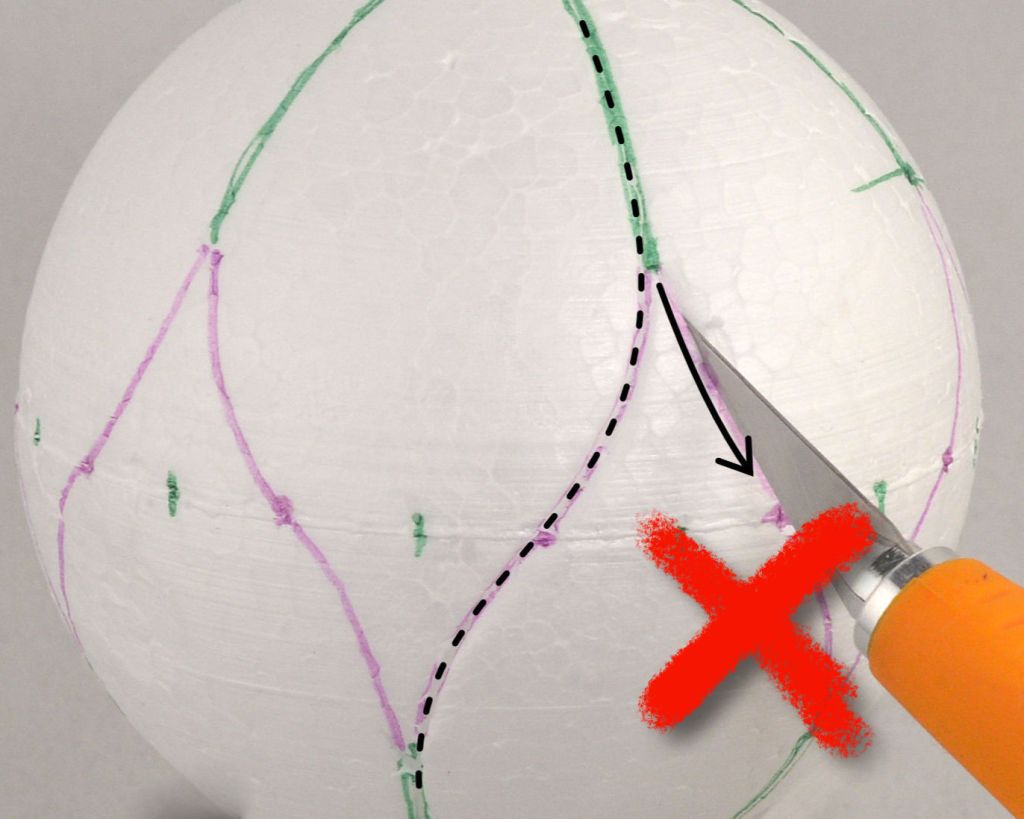
If your pattern contains narrow parts, it is best to start cutting away from the narrow part and then cutting towards it. In the example of the petal pattern below, start at the equator and cut toward the petal tip on one side of the petal, then do the same on the other side. If you cut starting at the tip, the soft foam might get pulled down a bit, damaging the petal tip.
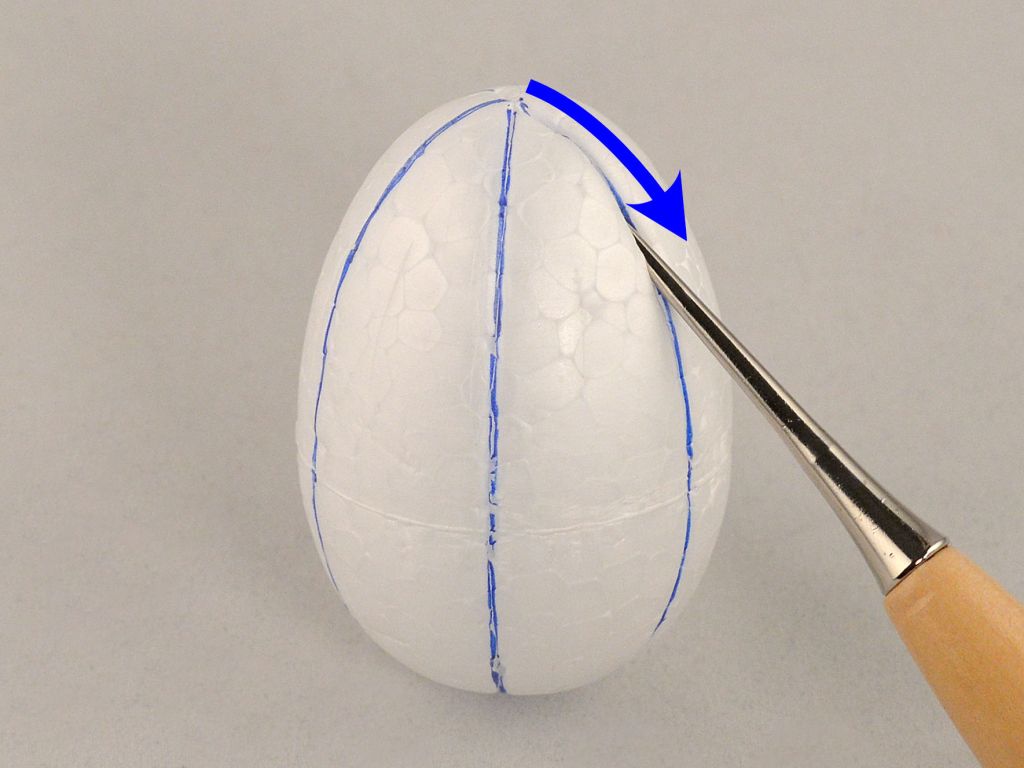
After cutting is finished, I like to widen all the cuts with an awl. It helps to smoothen the cuts and also widens them a bit so they are easier to find and to work with when you attach the fabric later on.
cutting dense foam bases
When using a hot knife, please keep safety in mind. I personally use a hot knife only when absolutely necessary, and I use it only outside (yes, even in winter!).
hot knife safety
If you are using a hot knife, to keep yourself and others safe please
- keep your hot knife away from children and pets
- hold your hot knife only at the insulated handle while hot
- never leave your hot knife unattended while plugged in or hot
- use only in a well-ventilated space and wear respiratory protection – polystyrene fumes are toxic!
Use a thin and long blade (preferable like a scalpel) for your hot knife, if possible. Let your knife get hot enough. It should melt the polystyrene easily without the need to apply much pressure. Then insert the knife and guide it along your pattern lines smoothly in one motion – there is no need for sawing motions like with a regular craft knife.
Once you have made grooves for all the pattern lines, you can widen and smoothen them with an awl if necessary. Sometimes, the melting process results in ridges on one or both sides of the cut. If that happens, I cut these off with a craft knife.