
There’s been a lot going on in my life lately, but now things have calmed down and I can finally share my latest experiment with you: pleated ornaments! I’m sure most of you are familiar with quilted ornaments – you know, the ones where you fold small pieces of fabric and pin them down onto the base one by one. What I wanted to try was making a kimekomi ornament, but with folded pieces of fabric to add some texture. In the end, I came up with three different methods, each with their own advantages and drawbacks.
- for method 1 (“pleated”), I used long strips of fabric, folded them on the ornament, and tucked them in
- for method 2 (“pleated layers”), I folded the fabric first and then tucked it in layer by layer
- for method 3 (“faux pleated”), I cheated and did not fold anything, instead I made additional cuts in my pattern and just tucked the fabric in
It’s hard to describe in words so I am just going to show you what I did!
Pleated ornaments (method 1)
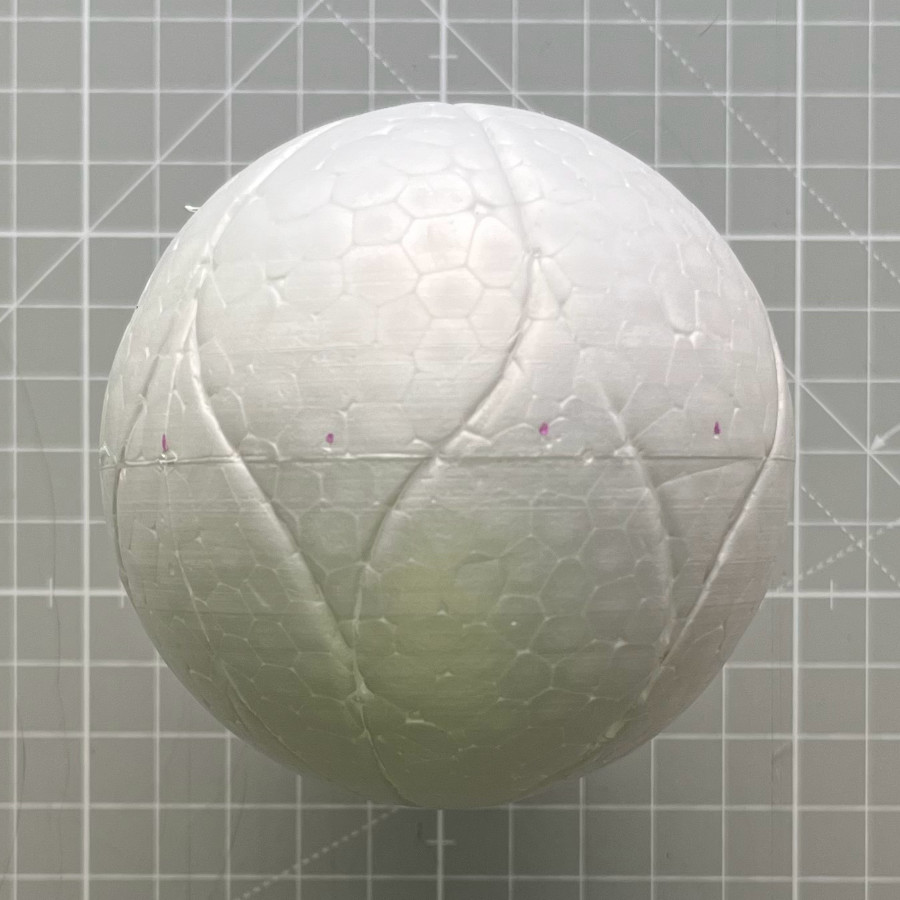
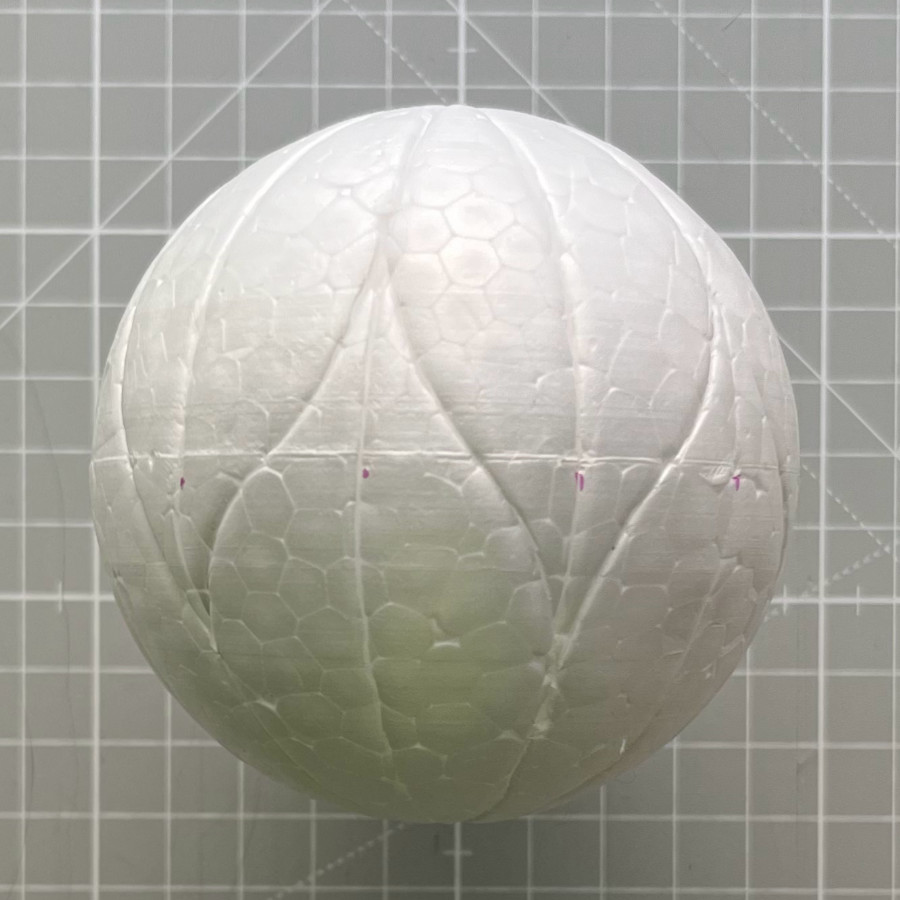
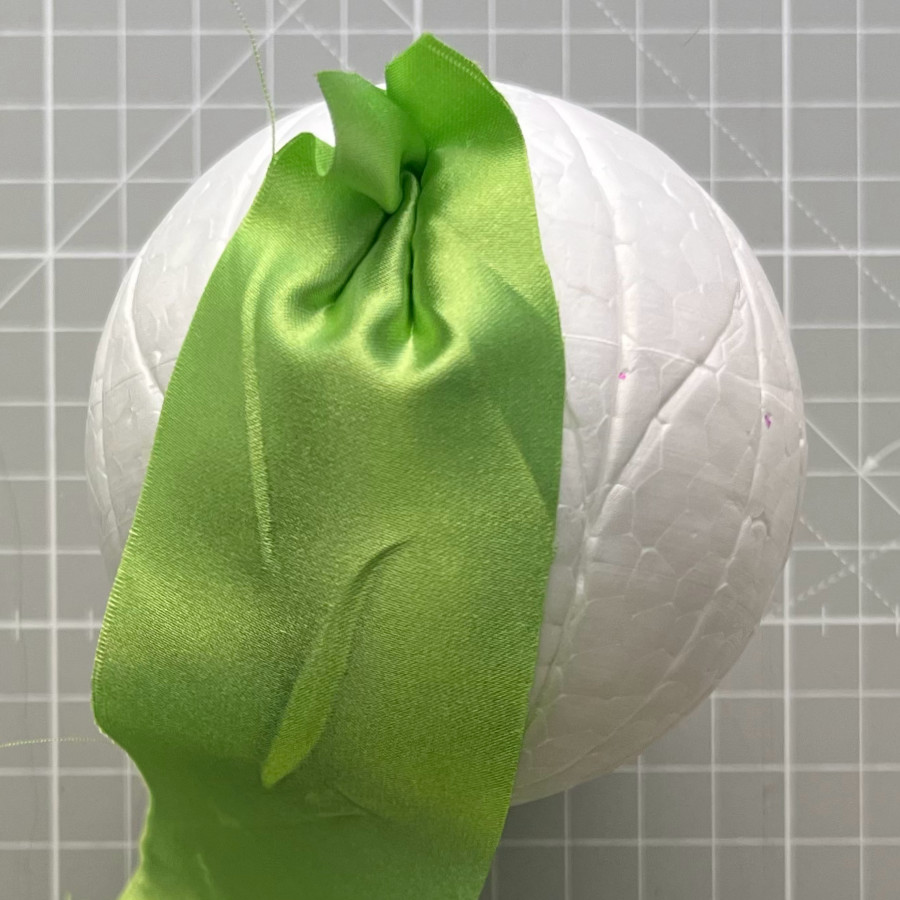
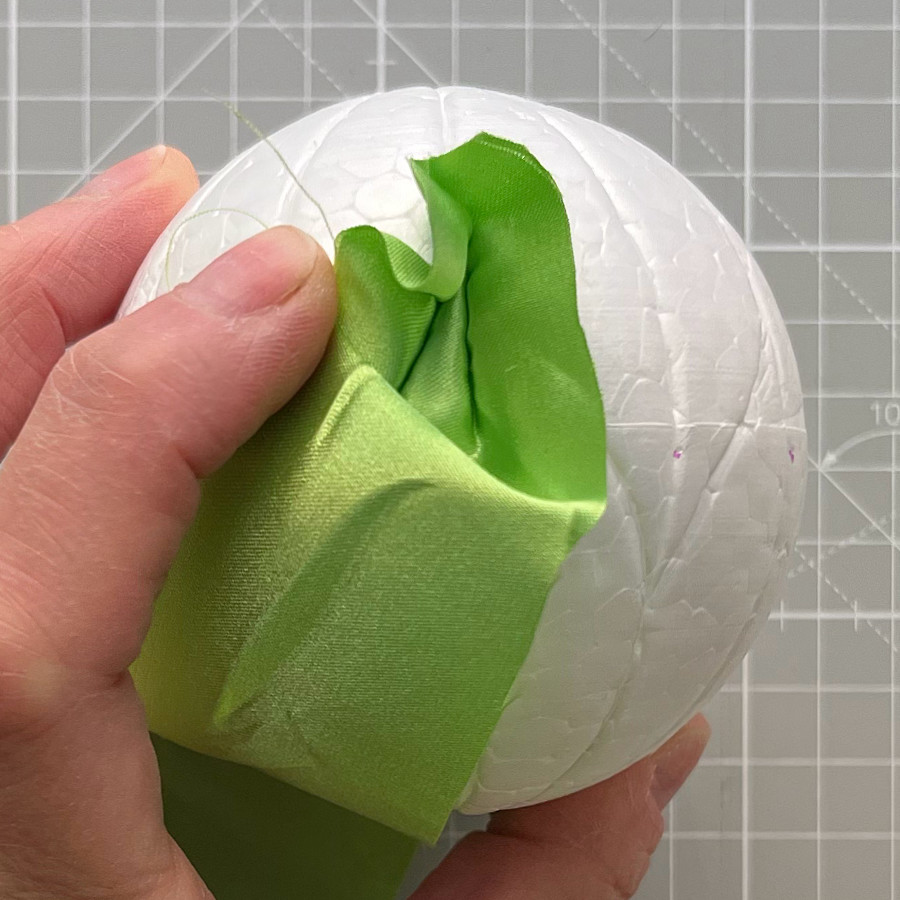
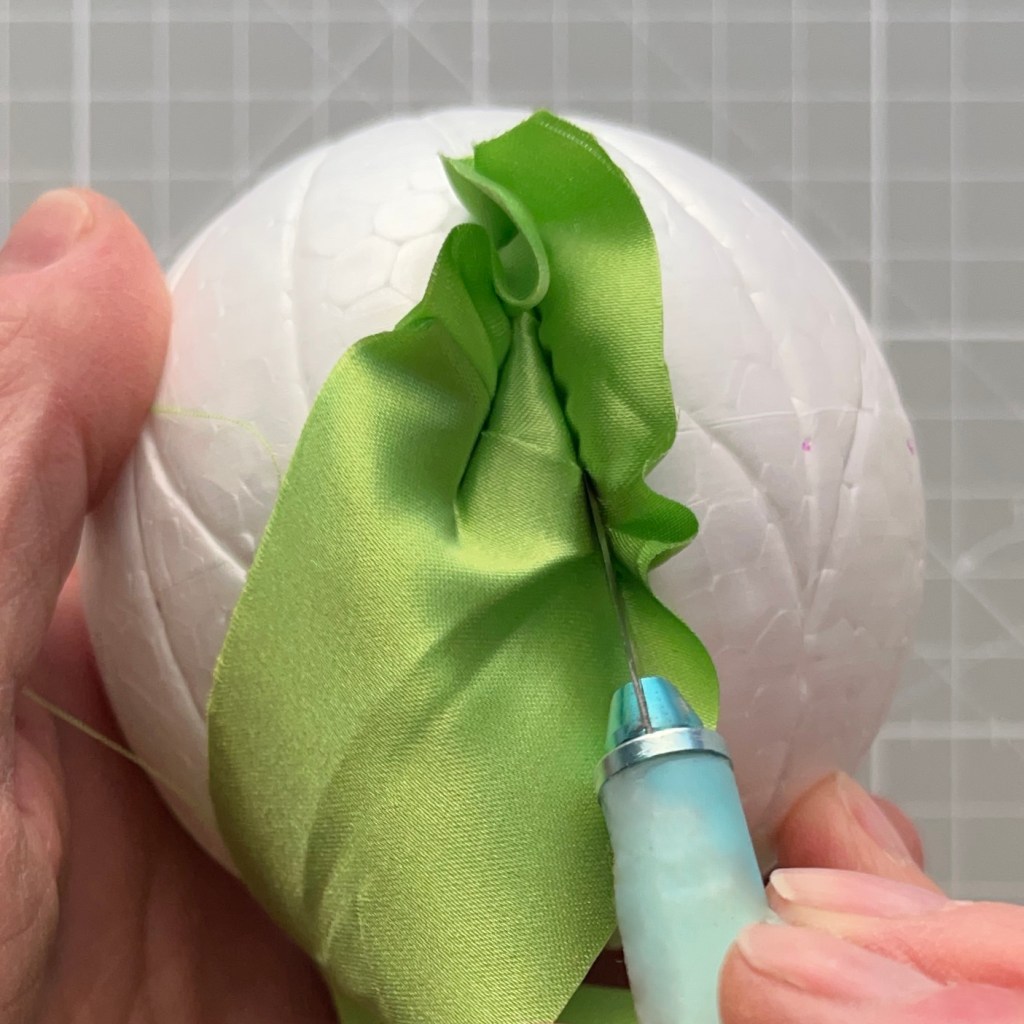
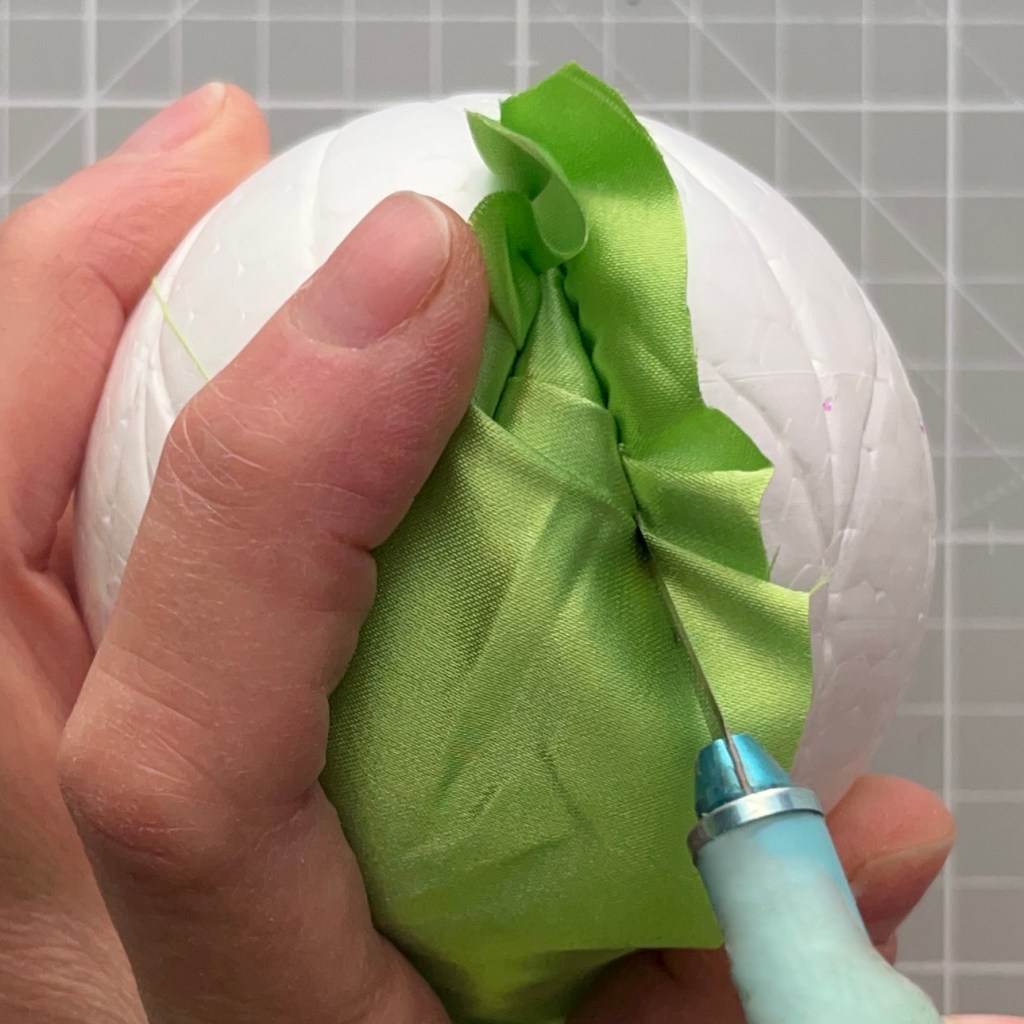
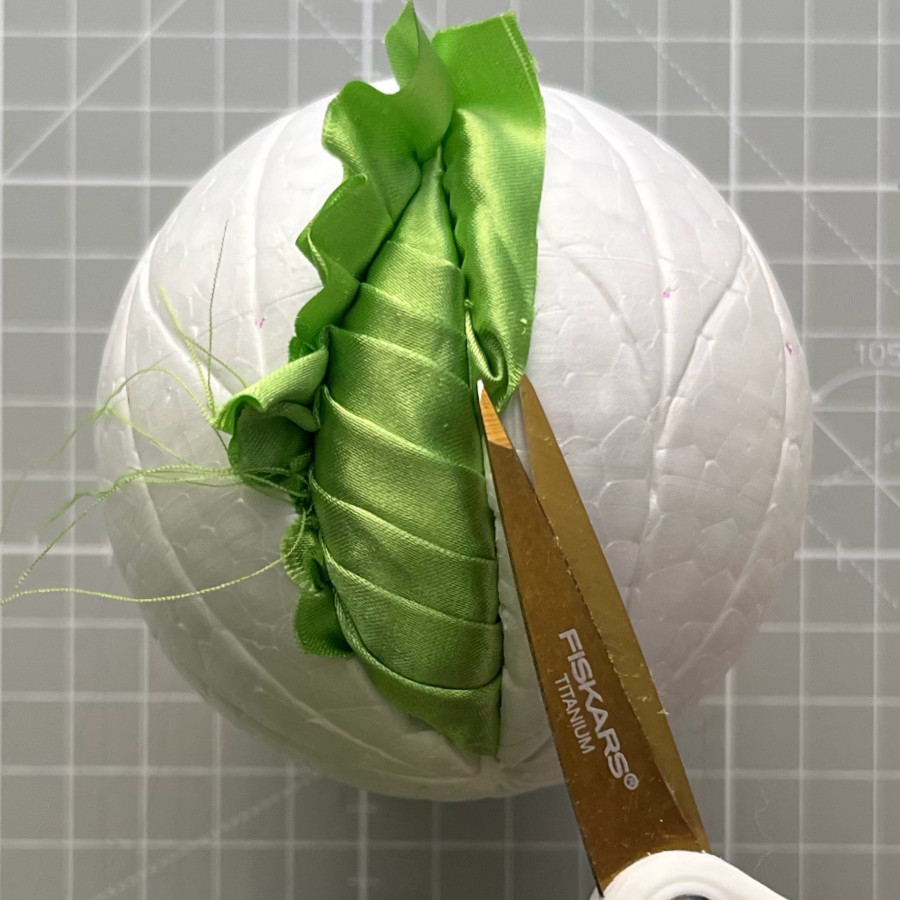
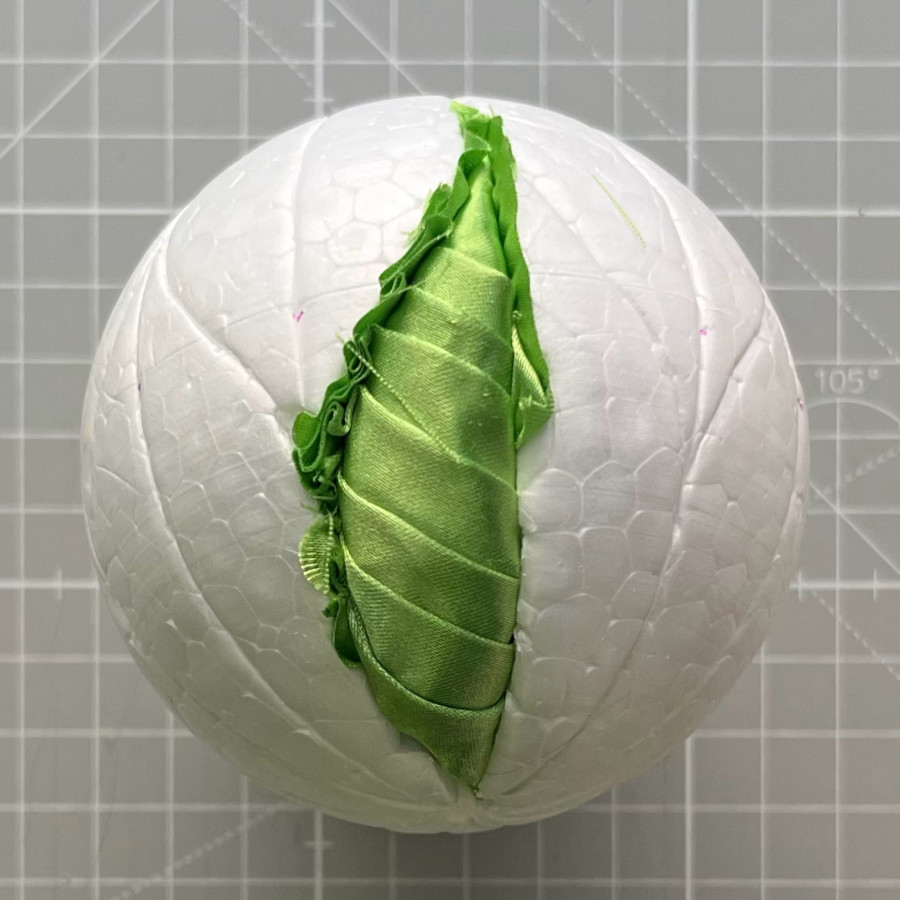
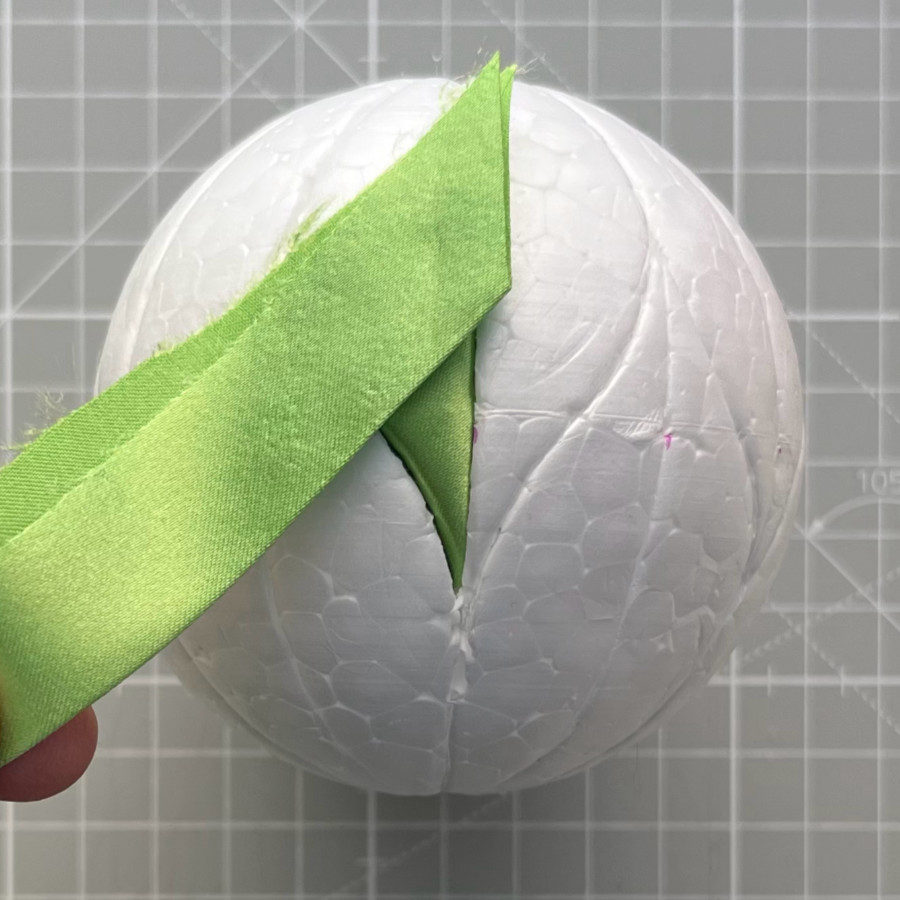
I had this idea for a leafy design, so I started by making a petal pattern and adding vertical cuts to each petal. I’m making each petal into a leaf, and the vertical cut is the midrib. Then, I took a long, narrow strip of fabric and attached it to one end of a half leaf. You’ll need about three times the length of the shape you’re covering. After that, I folded the fabric over a bit to make a pleat, and tucked it in while keeping the pleat in place, so it’s secured in the grooves. I just kept making more pleats until I covered the whole shape. Finally, I trimmed off the extra fabric and tucked in the remaining fabric for a nice, neat finish.
To be real with you, I wasn’t totally thrilled with this method. I had to deal with a ton of fabric to tuck in, and I could already tell it wouldn’t be a walk in the park to add more fabric to the leaves near the one I had just finished. And even though I like the texture of the pleats, they looked kind of wonky because it was tough to control the angle and exact placement of the fold.

layered pleats (method 2)
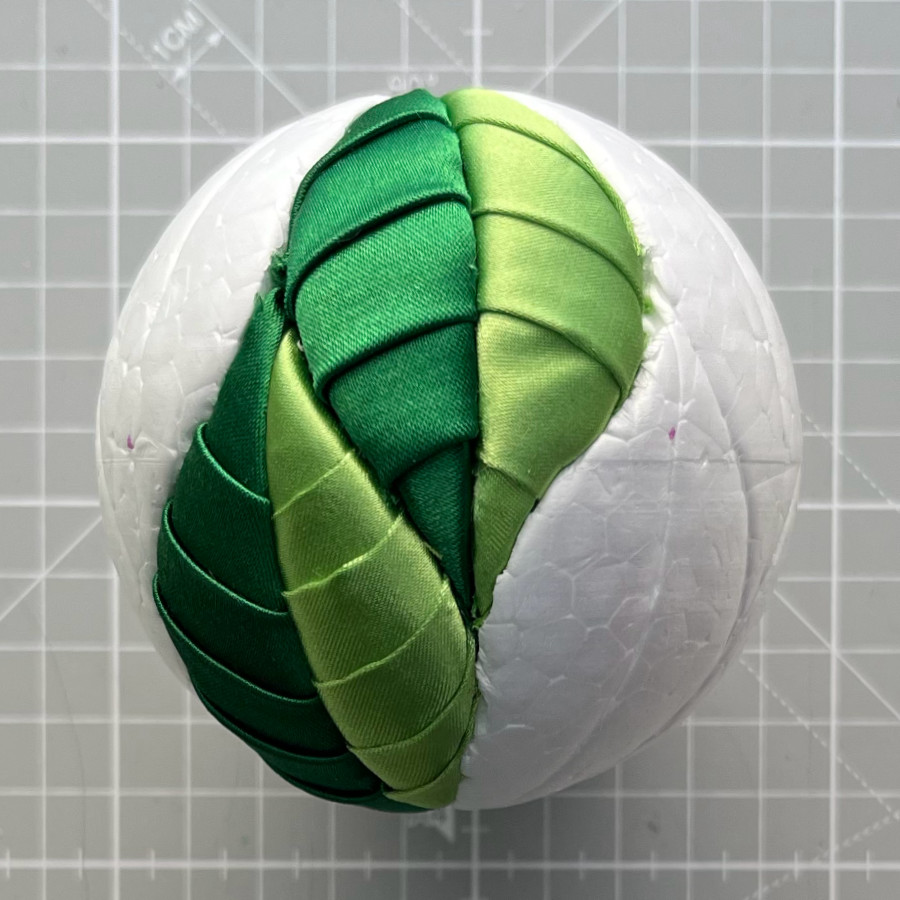
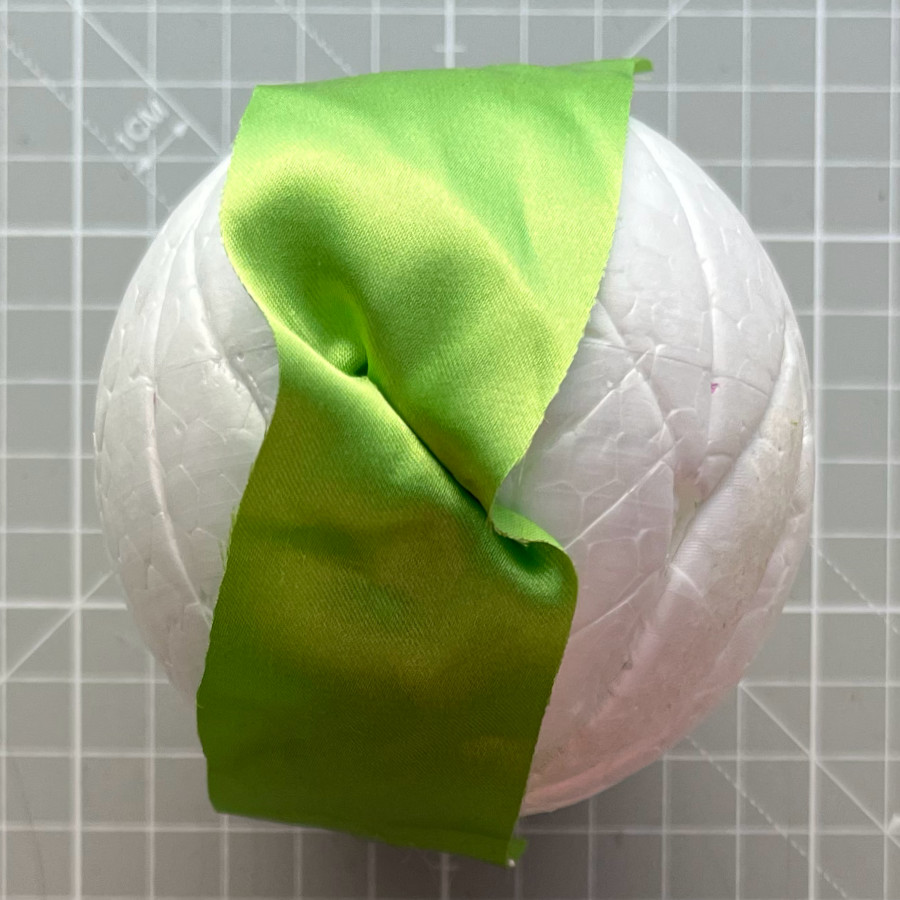
There had to be a better way to get that pleated look I wanted. So I tried something new: I took a long, skinny strip of fabric and folded it in half lengthwise, then gave it a good press with the iron to make a pleat. I started with the same petal/leaf pattern from my last experiment. First, I added a little extra fabric to the tip of one of the leaves. Then, I placed my folded fabric strip on top and tucked it in. I trimmed the strip near the fold and kept going, adding layer after layer until the whole half-leaf was covered.
I had a blast using this method! It was way easier to control the angle of the pleats and how far apart they were. You can totally tell that the end result looks way cleaner, too!


faux pleated (method 3)
As I said before, I didn’t even bother folding the fabric for this experiment! All I did was make more cuts in the pattern where I wanted the faux pleats. Like the other two methods, this one also needs a long, narrow strip of fabric. I started by tucking the middle of the strip into the middle of the pattern, and then worked my way along the leaf. Once I was done tucking the fabric into all the additional cuts I made, I trimmed off the extra fabric, leaving enough to secure it in the contour of the leaf.


which method is the best?
All these techniques have their ups and downs. Honestly, you’d have to give them a go and see what clicks for you. Personally, I would hand it to method 2 (layered pleats) between the first two. If I’m after that pleated texture, this one’s the way to go for sure! Sure, it took a bit of prep work (ironing a folded strip of fabric) and attaching the fabric in layers, but it was pretty straightforward and a blast to do. And the end result looked super smooth!
The first way was a real pain because there was so much extra fabric to stuff into the grooves, making it super hard to work with and giving it a messy look. Maybe it would be easier with really light fabric, like cotton lawn.
The third method comes in second for me. Even though it doesn’t give you those “real” pleats and extra texture, it was pretty fun and simple to do, and the final outcome looks clean and tidy.
| method | pros | cons | |
|---|---|---|---|
| 1 – pleated | 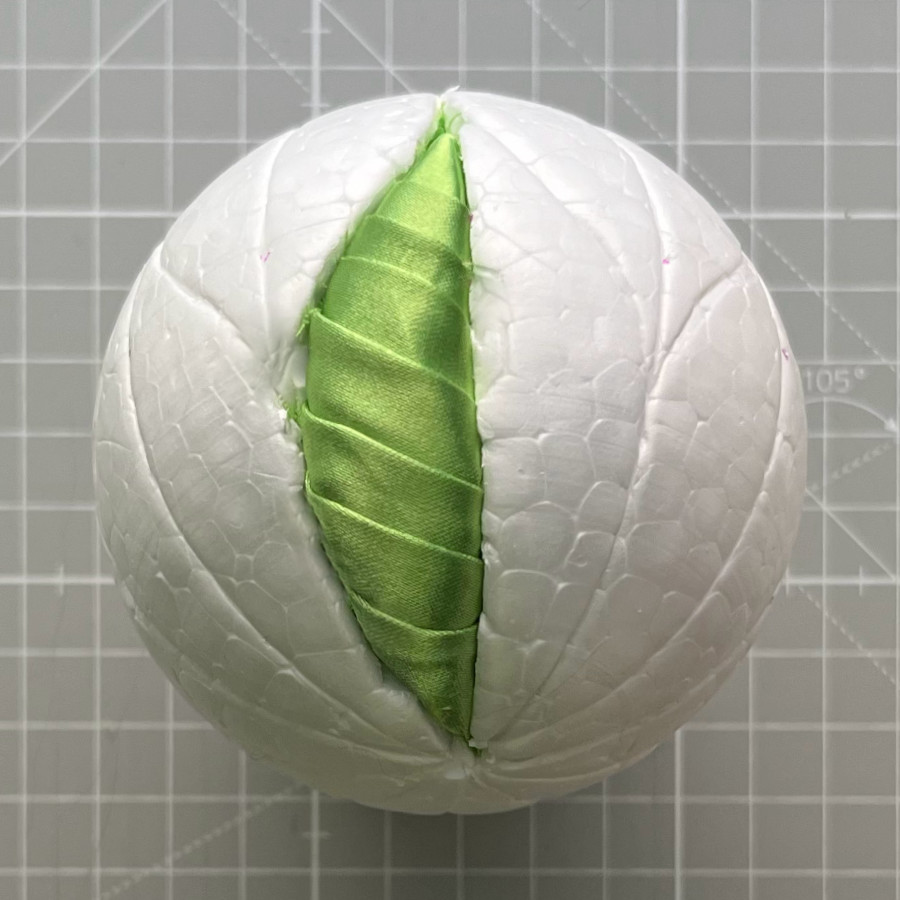 | minimal preparation adds texture | not easy to control pleats lots of fabric to tuck in looks untidy |
| 2 – layered pleats | 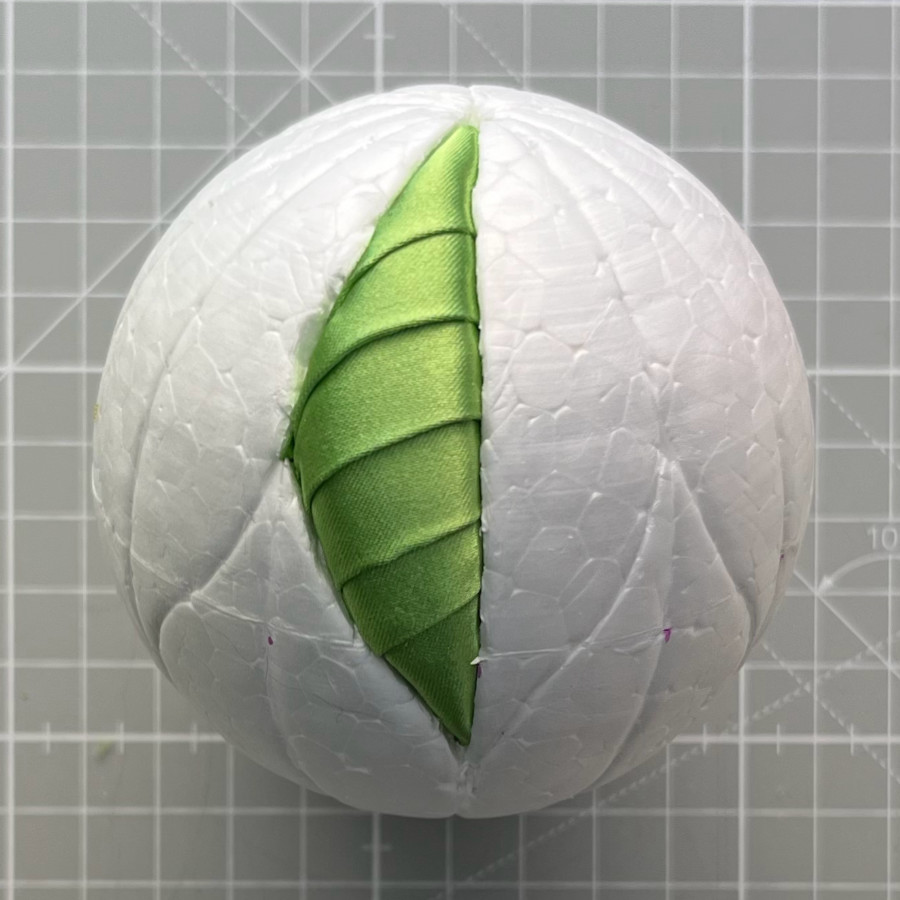 | easy to control pleats looks very neat adds texture | some preparation needed (ironing) |
| 3 – faux pleated | 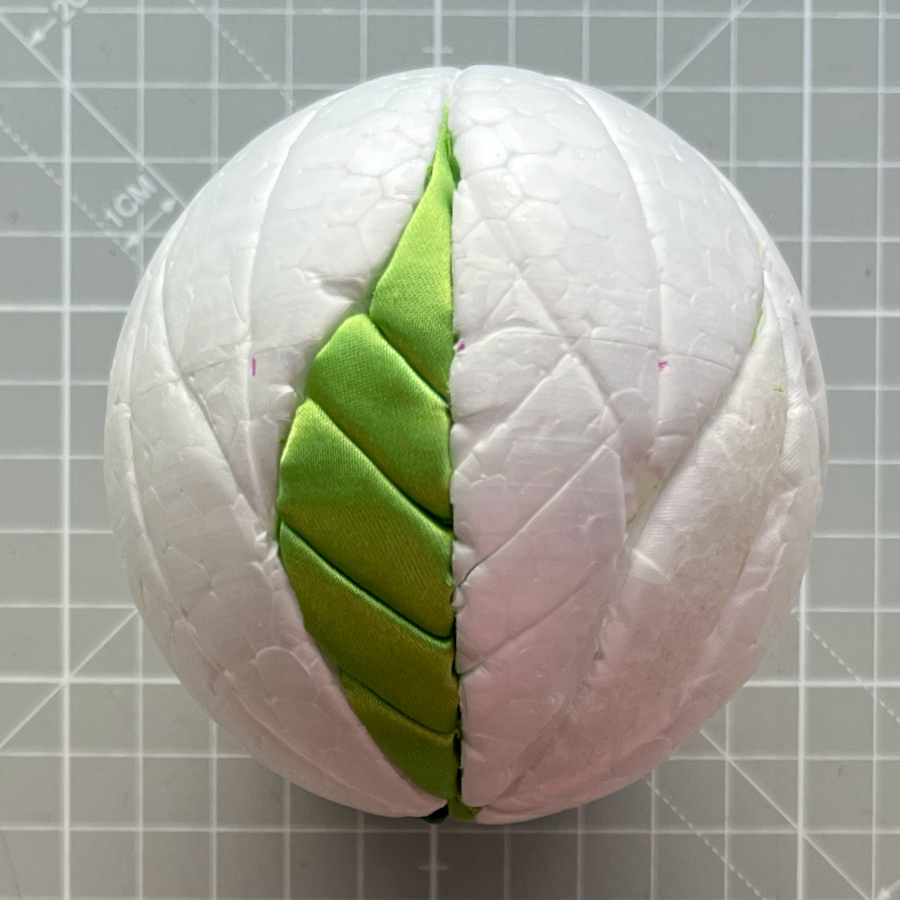 | easy to work looks neat | some preparation needed (extra cuts) does not add texture |
what is your experience?
Have you ever tried your hand at making some sort of pleated kimekomi ornament? How did it go? Let me know in the comments, I’d love to hear from you!
