This is one of my go-to pattern for decorating eggs, especially the smaller ones of chicken-egg size. It’s just 6 simple pieces made of straight lines, so it’s a breeze to draw and cut. Even though three of the stripes are narrow, it’s not too tricky. Plus, even on smaller eggs, the three larger stripes are perfect for showing off fabric patterns or small motifs, as in the whimsical kitties egg ornaments.


step 1: dividing into segments
So let’s get down to business. The first step is to divide the egg (or ball) into 12 equal segments at the equator. If you are new to kimekomi, check out my step by step instructions for drawing patterns here.
step 2: drawing lines
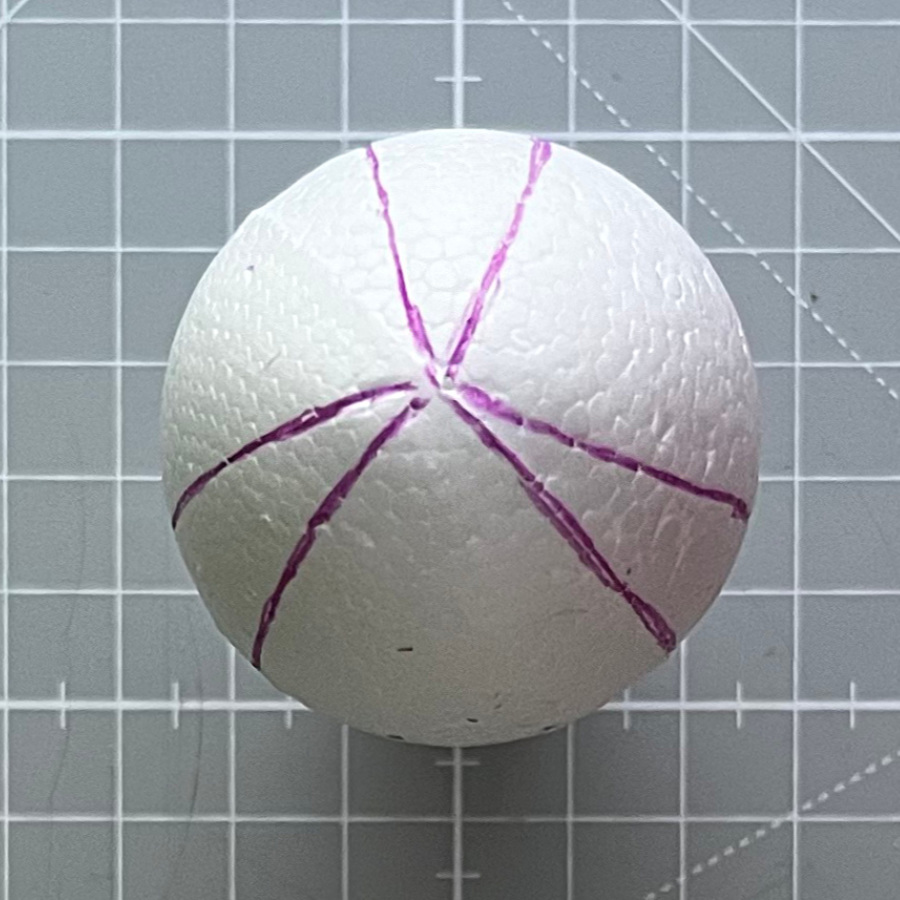
Next, you’re going to draw straight lines from pole to pole. You can go certainly freehand for those, but if you want a guide to make sure the lines are straight, I recommend a cookie cutter placed around the foam base. You can also use your tape measure or the SaTurn. Now draw lines over two adjacent labels on the equator – this forms one skinny stripe. To make the fat stripe, skip the next 2 equator marks and draw a line over the third mark. The next stripe is a narrow stripe again, so you’ll draw a line over the next mark. Continue this way, always alternating skinny stripes (lines over two adjacent marks) and fat stripes (skipping two equator marks). In other words, you draw lines over marks 1, 2, 5, 6, 9, and 10, resulting in narrow stripes between 1/2, 5/6, and 9/10, with wider panels between the narrow stripes.
And that’s it, you’re done with the 3+3 uneven stripes pattern. Easy peasy, right?

