Do you ever hang on to stuff because it’s just too pretty to toss, even if you have no clue what to do with it? I totally do! I’ve got this little pile of boxes in my craft room that I can’t bear to throw away. Plus, I’ve started collecting other random materials that I think might come in handy one day… but honestly, I have no idea how.
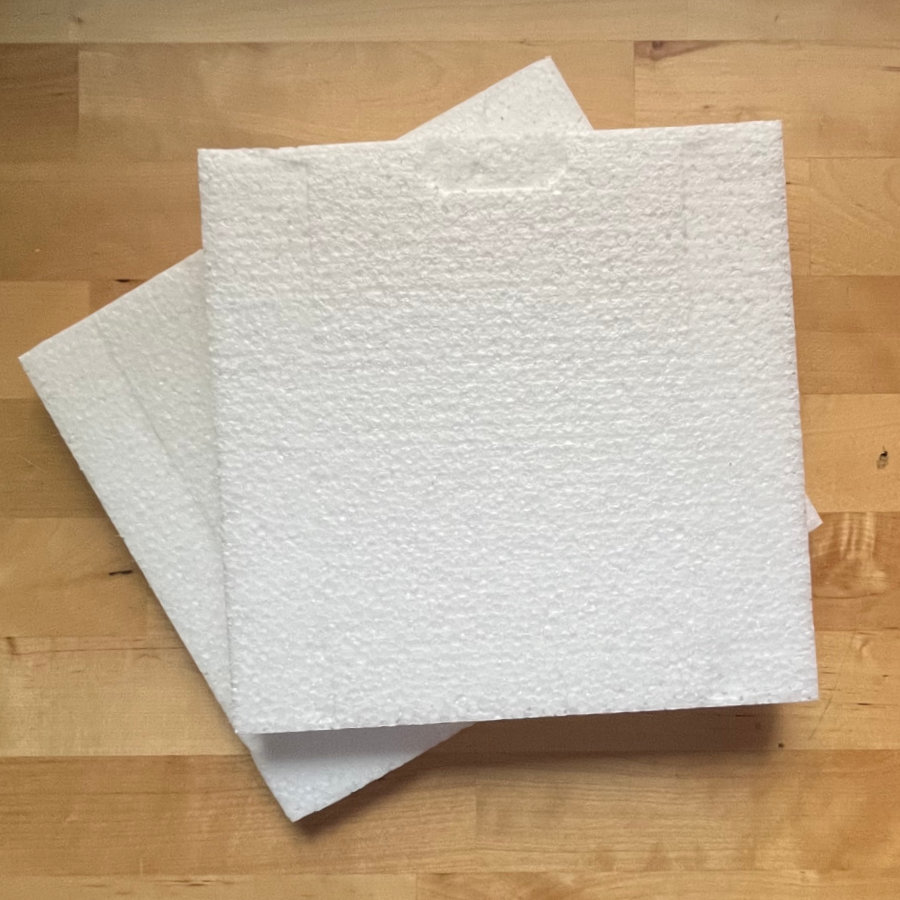
So, the other day, I got myself a new teapot! It arrived all snug in a box packed with polystyrene sheets – you know, the same stuff used for kimekomi ornaments? That got me thinking: why not layer some of that polystyrene in a box and cover it up in some fun fabric? Come hang out with me while I give this box an awesome kimekomi makeover!
materials
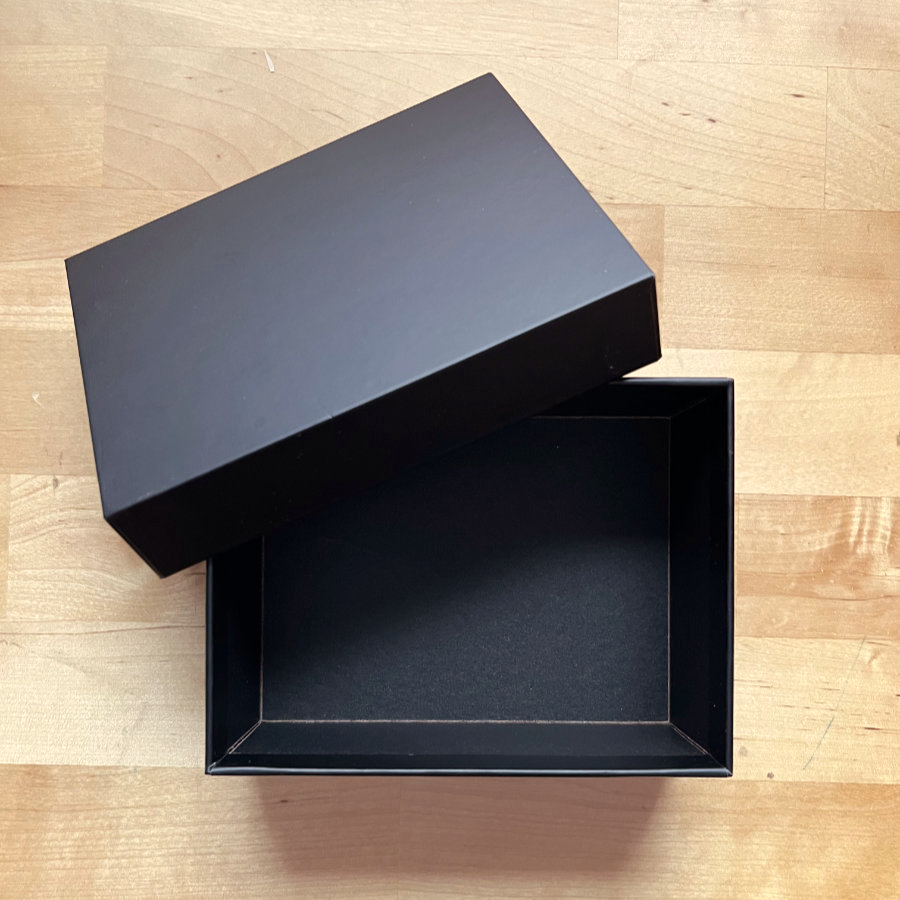
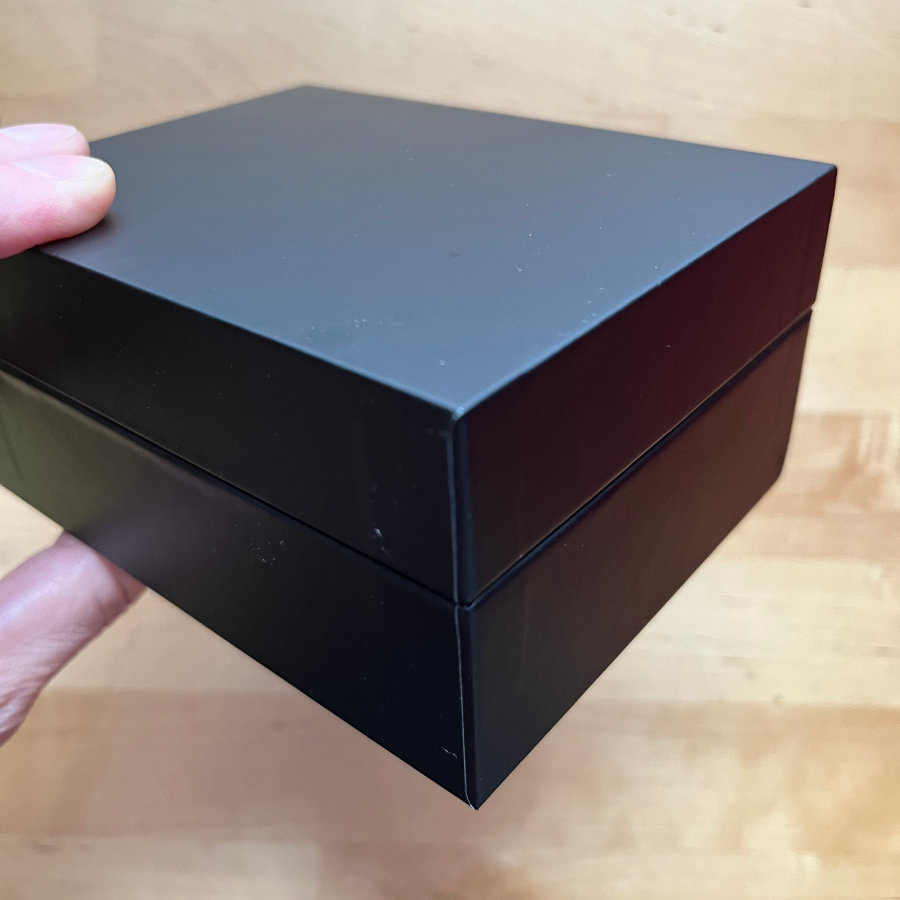
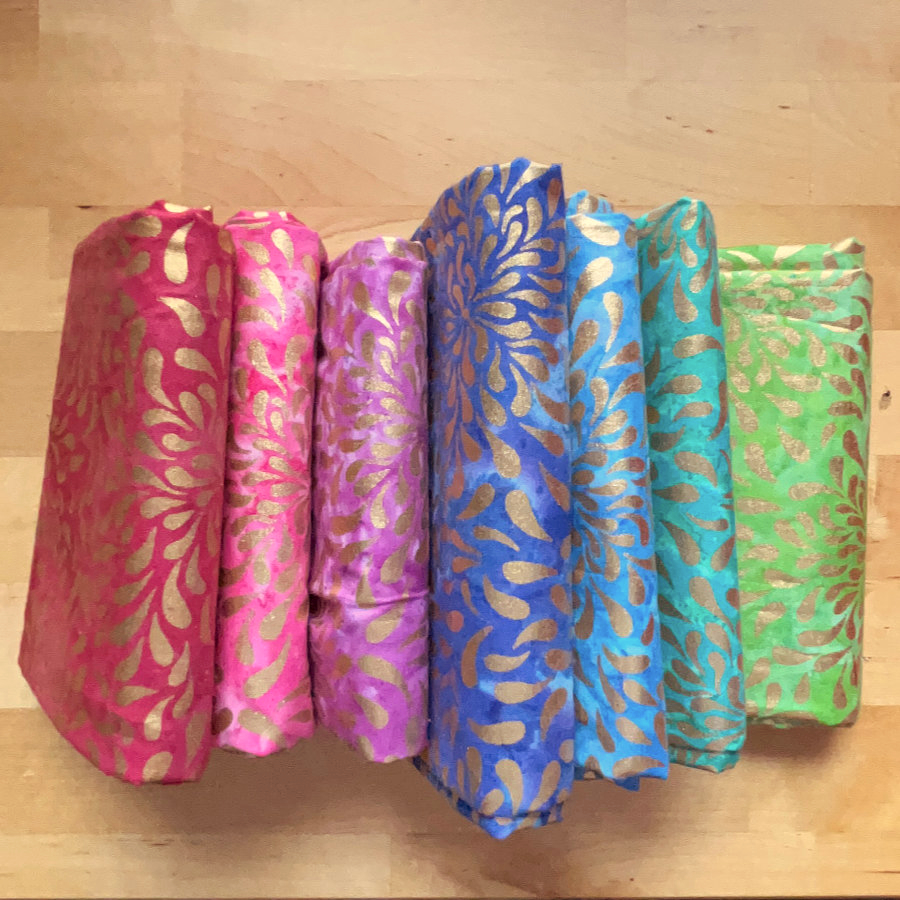
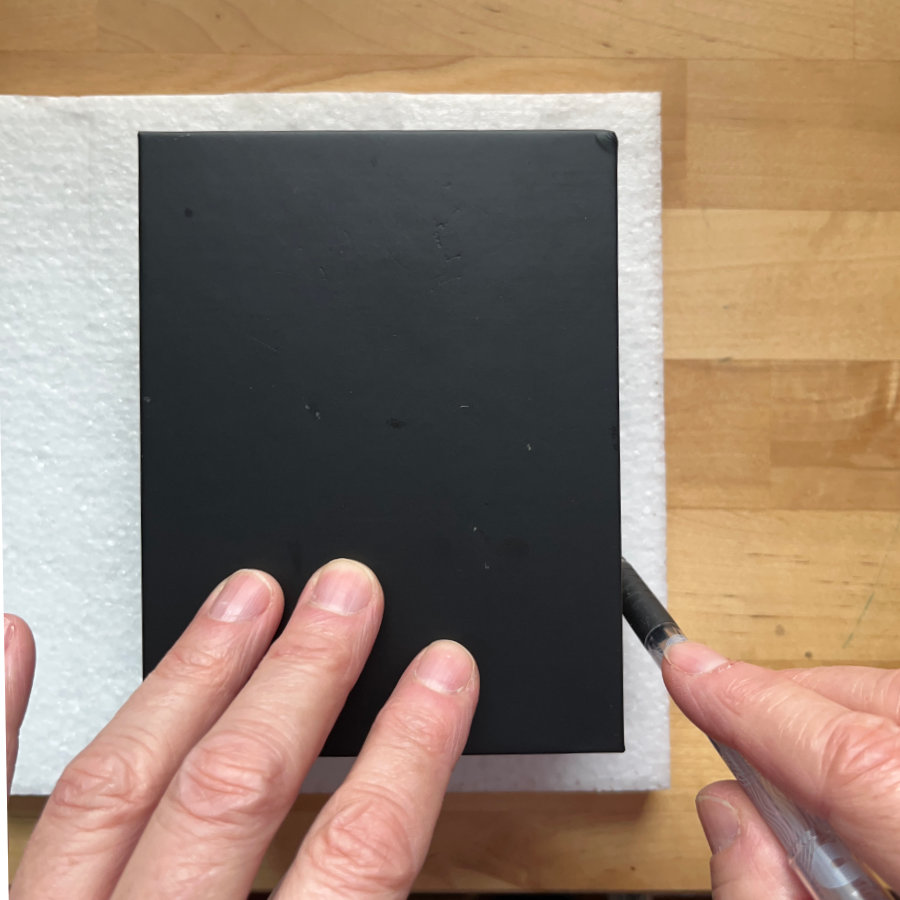
I used a bunch of stuff for this: some polystyrene packaging, a sturdy little black box that has this nice satin finish, and fabric I had lying around. The polystyrene sheet was super soft and kind of crumbly, which made it a bit of a pain to work with, so if you can, go for something firmer. For the inside, I picked out some batik fabric with a shiny gold print to give it a snazzy vibe.
Preparing the box
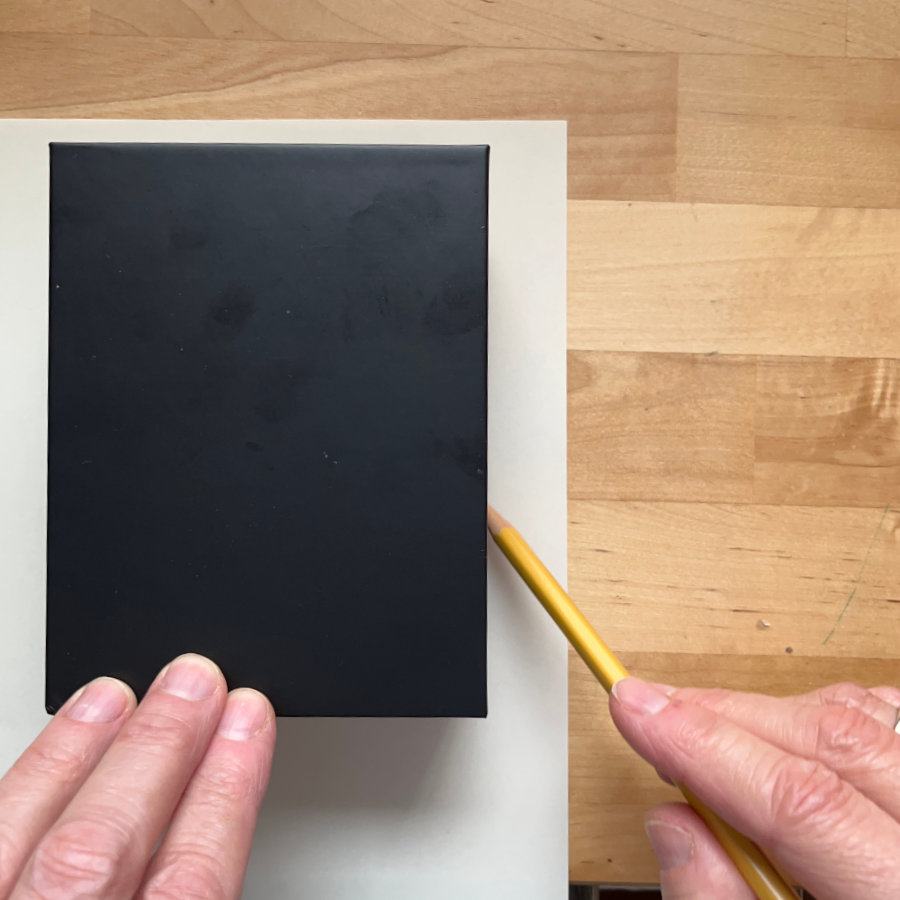
To make the polystyrene insert, just toss the box on your polystyrene sheet and trace around it. Then, grab a sharp knife—I used a bread knife, but a craft knife totally works, too—and cut it out. If the insert ends up a smidge too big, no worries! You’ll just shove it into the box, and it’ll fit snug with a bit of tension. Want to glue it down? Go for it! Just make sure you’re using glue that won’t melt the polystyrene (school glue or a glue stick is perfect). And be sure to press that insert down into the box nice and tight, getting all the corners and edges.


Marking the pattern
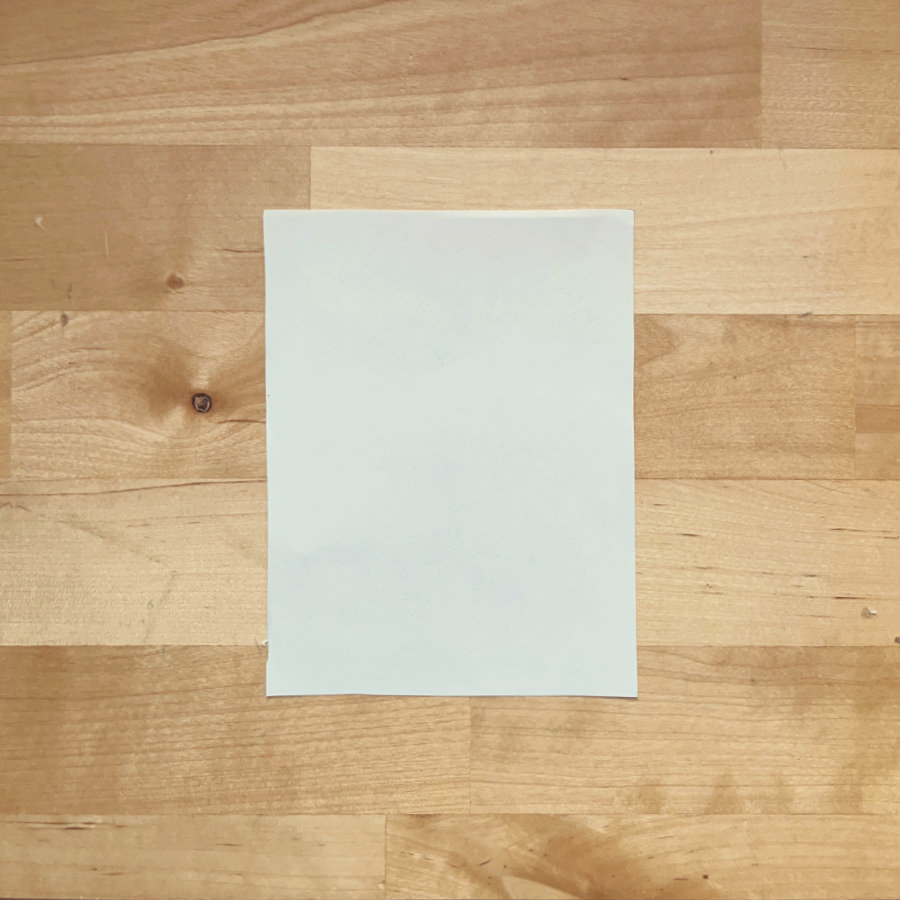
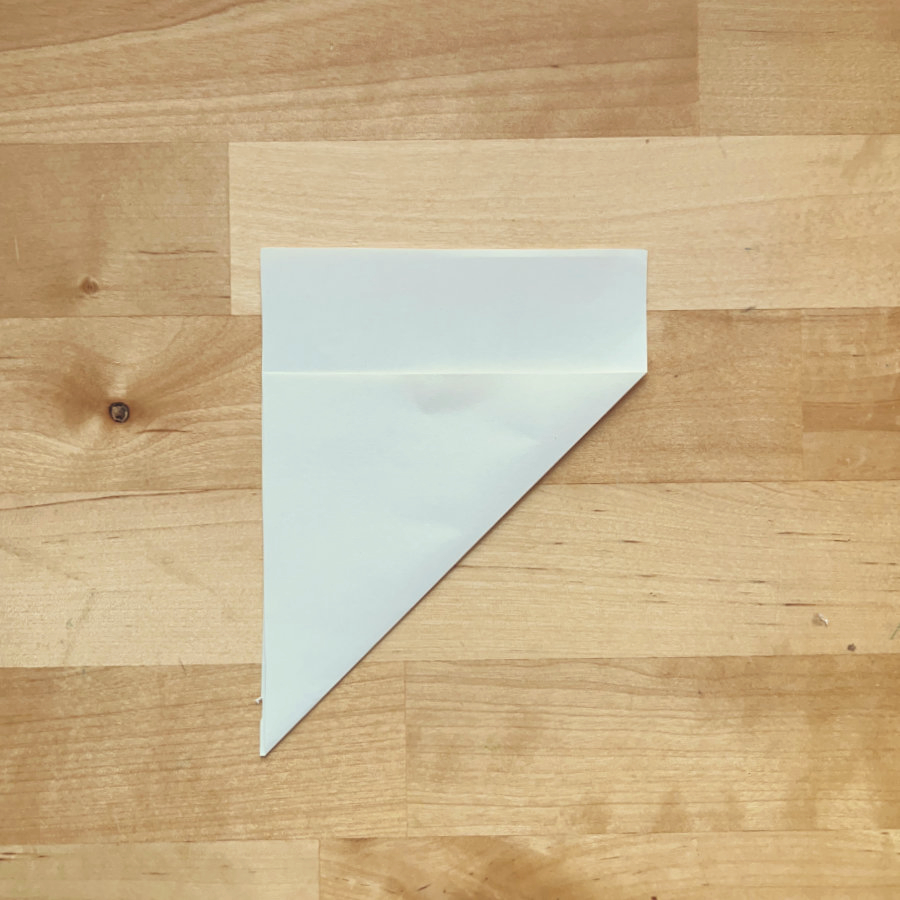
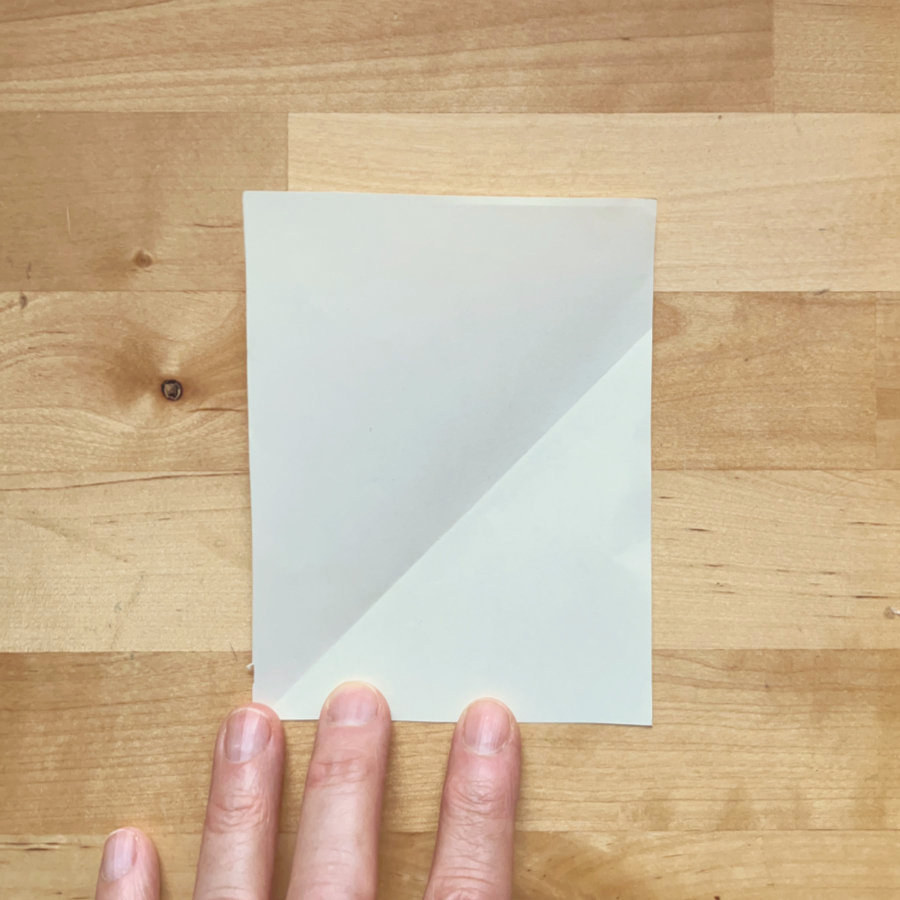
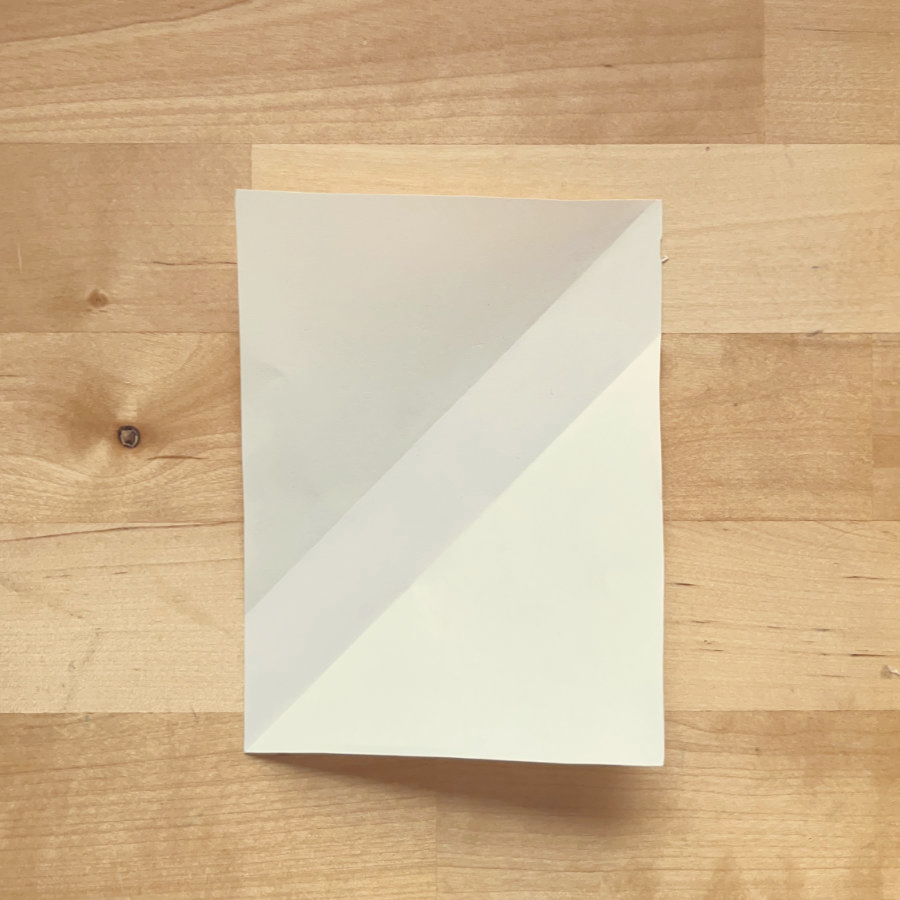
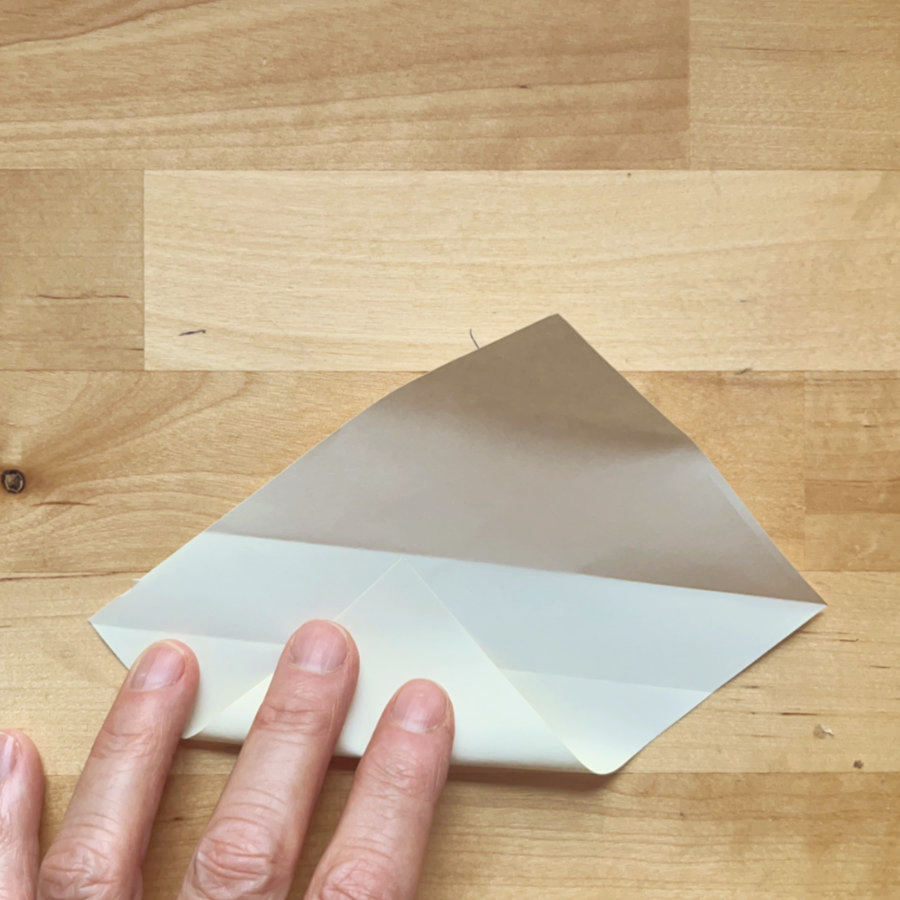
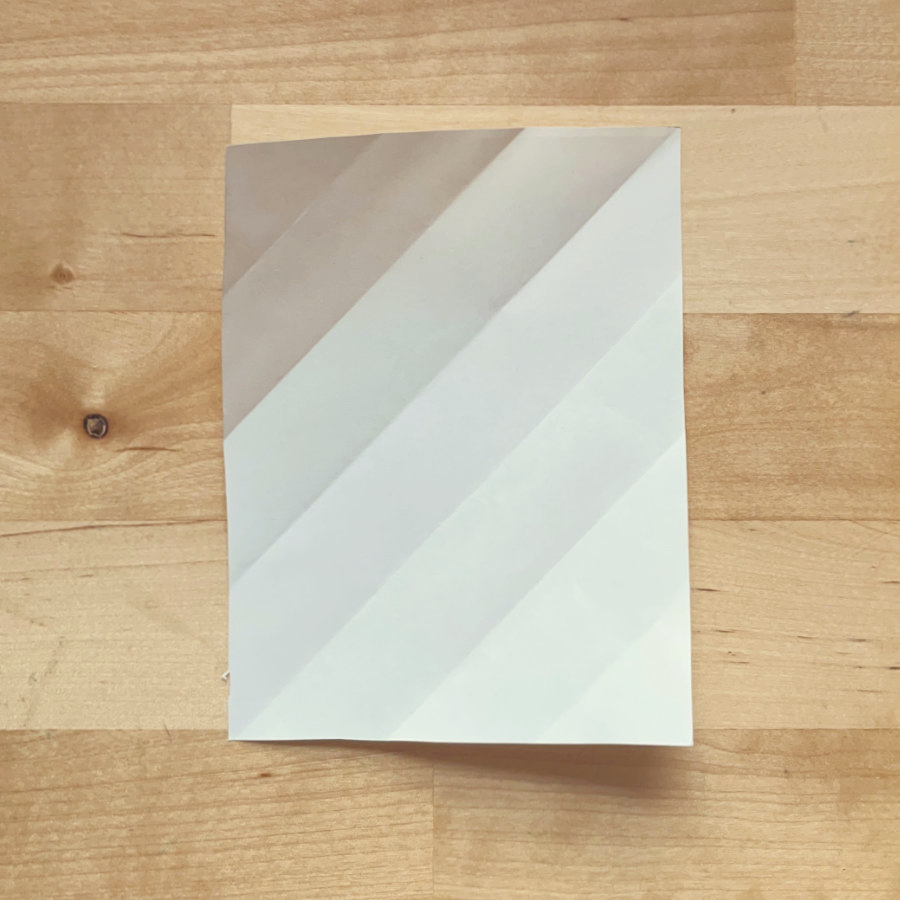
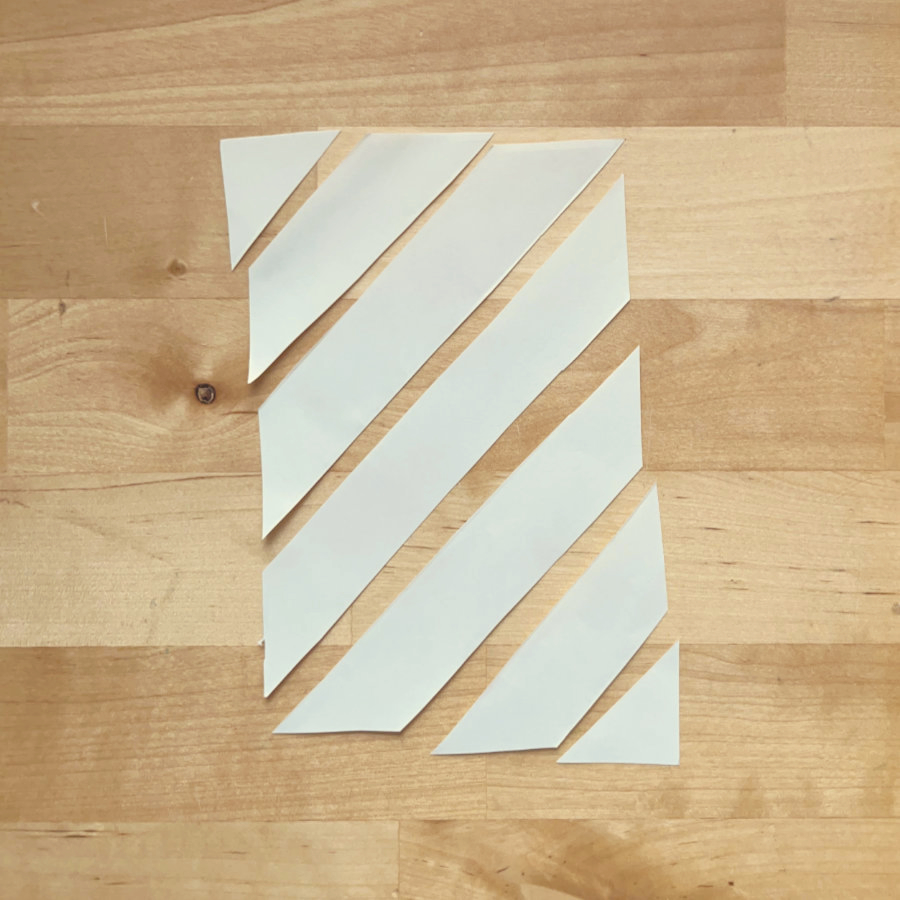
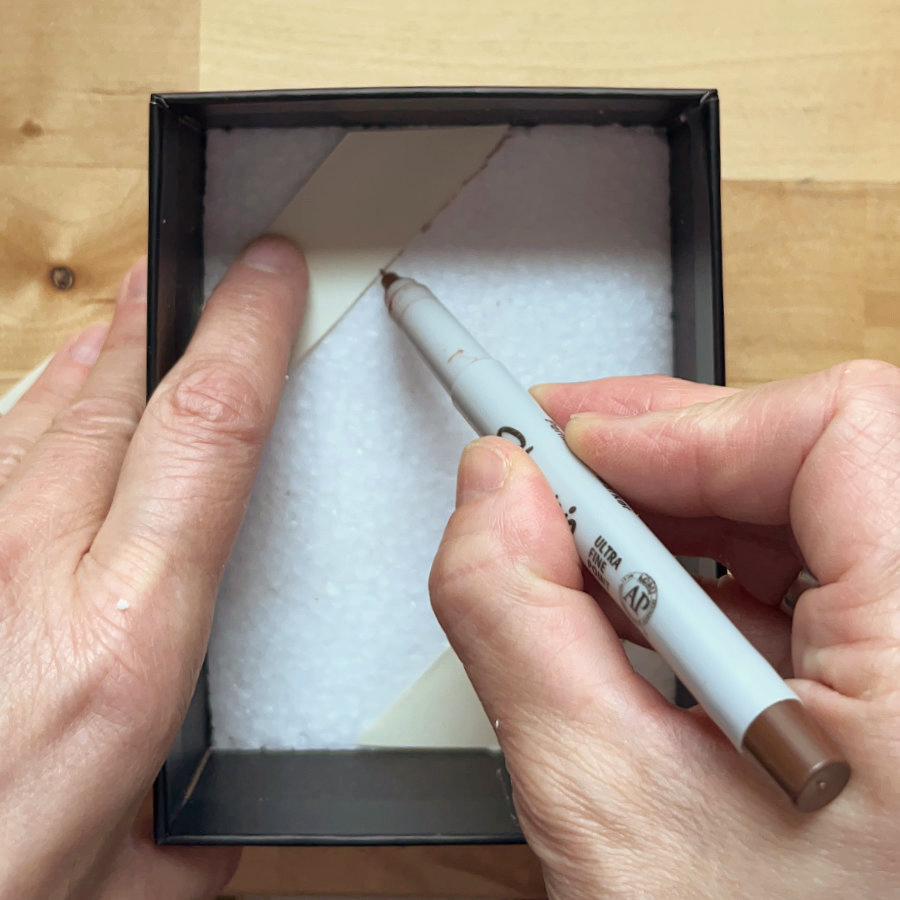
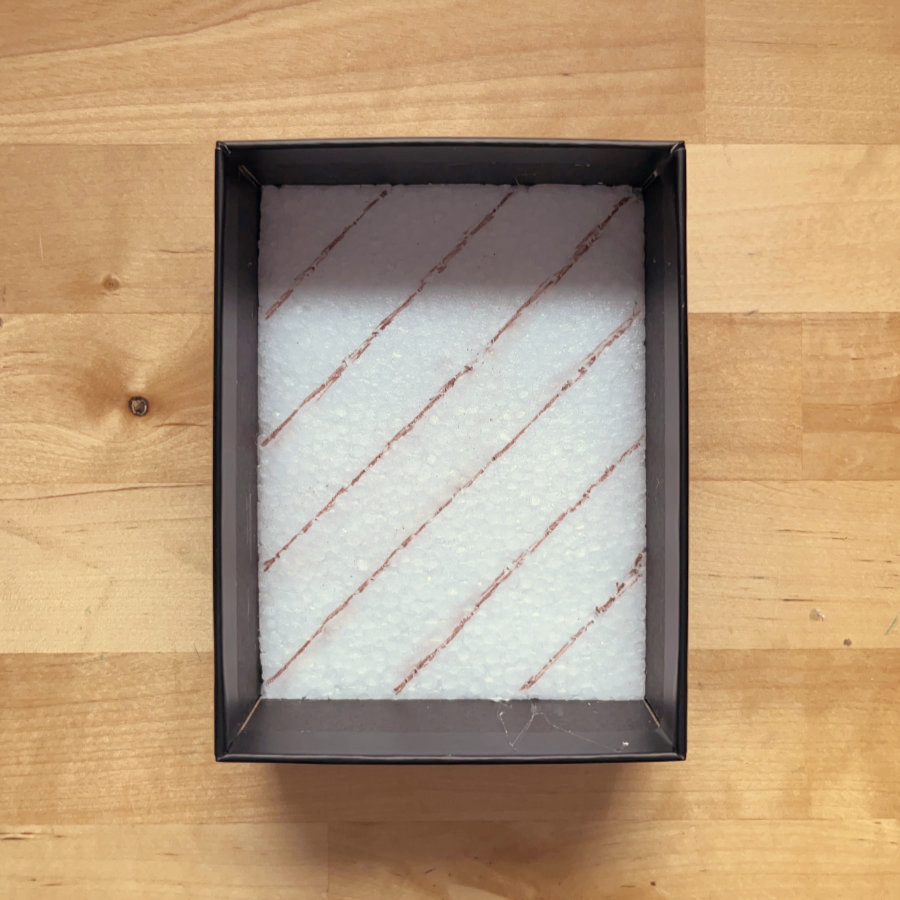
Since this was my first go at a kimekomi lined box, I kept things simple with my design and opted for some easy diagonal lines. I started by tracing around the box, but this time on just a piece of paper. After cutting out a rectangle the size of the box, I folded one short end over to meet the long side to create a diagonal line, then did the same on the other side. Next, I just kept making parallel folds like you see in the pictures. Once I had a bunch of those folds all over the paper template, I cut along the folds to separate the segments. Now those paper pieces can be used to sketch out the pattern in the box and later to cut the fabric down to size. To label the pattern inside the box, just pop the pieces in there and trace around the edges. Honestly, for this pattern, you only need to trace around every other segment.


Adding the fabric
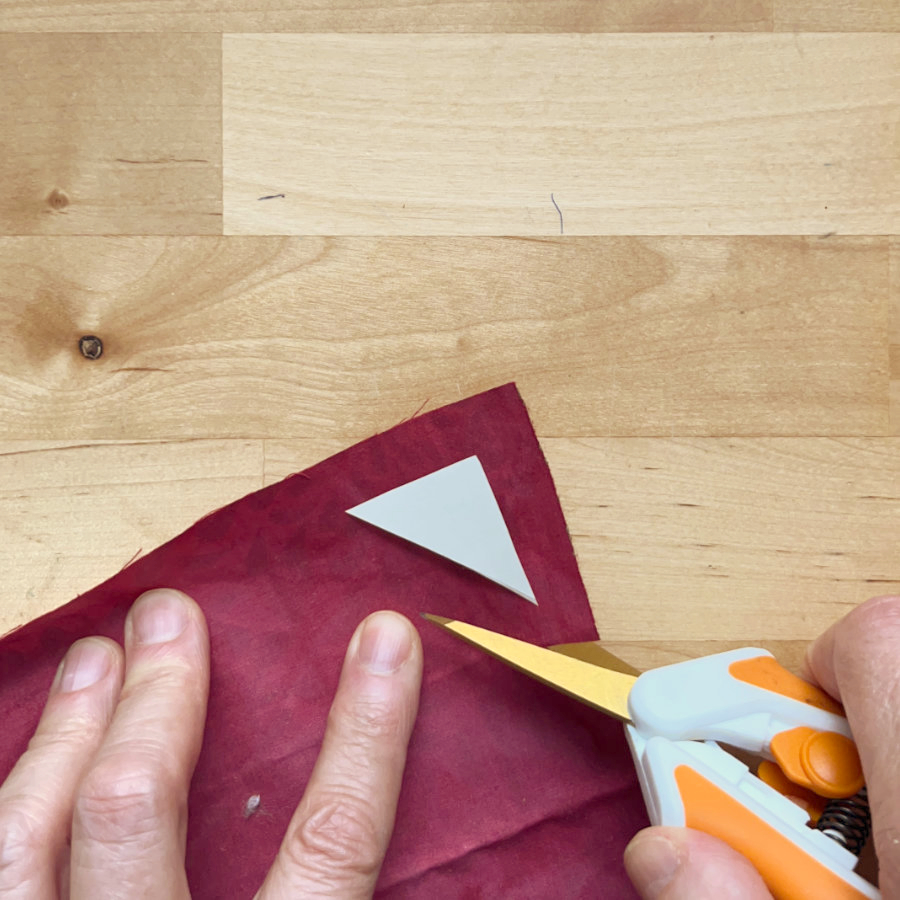
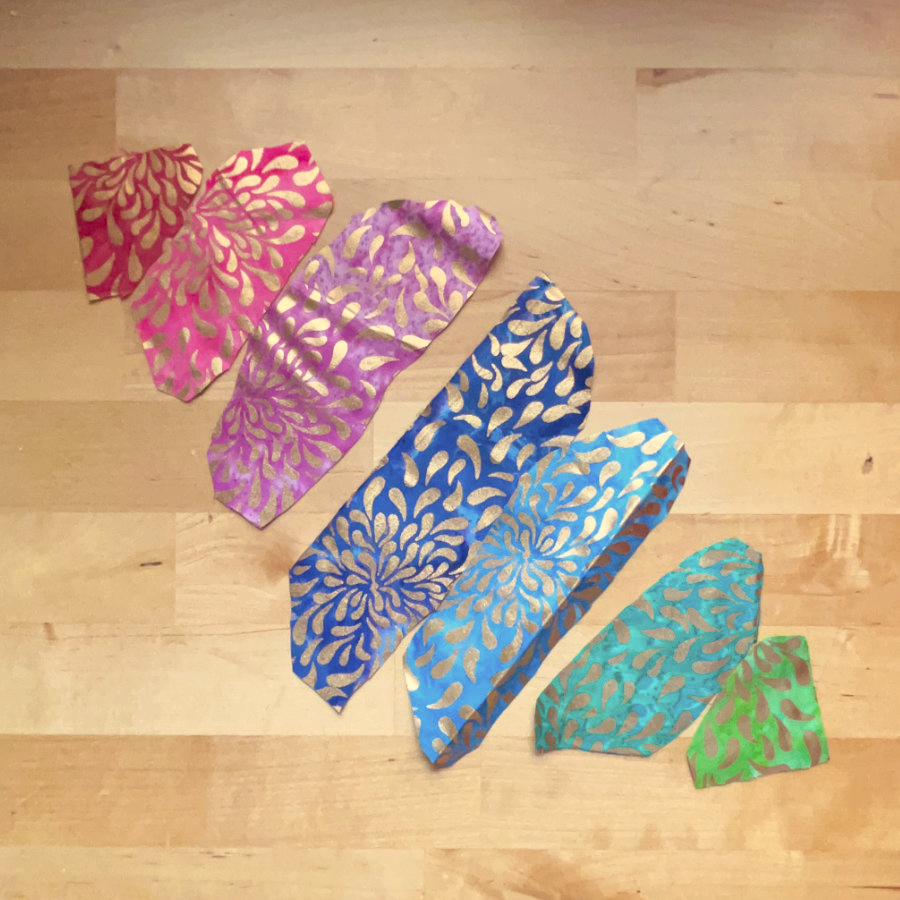
Now comes the fun part: attaching the fabric! I used the paper templates to cut out fabric pieces that are a bit bigger than the pattern segment, just how you’d do it for a kimekomi ball ornament. If you want, you can throw in some batting under the fabric too. Just use the paper templates again to cut those batting pieces. I didn’t bother with batting since the polystyrene I had was already super soft. After cutting the fabric, all that’s left is to secure it in the box. Just place a fabric piece over one segment and tuck it in on all sides. Honestly, I found this part trickier than with a polystyrene ball because you need to tuck it in vertically, while with a ball, you can keep your tucking tool parallel to the cuts. A spatula-shaped tool would come in handy, and I’ve got a Cricut tool that would work perfectly, but I couldn’t find it. Guess it’s time to sort out my craft room again!

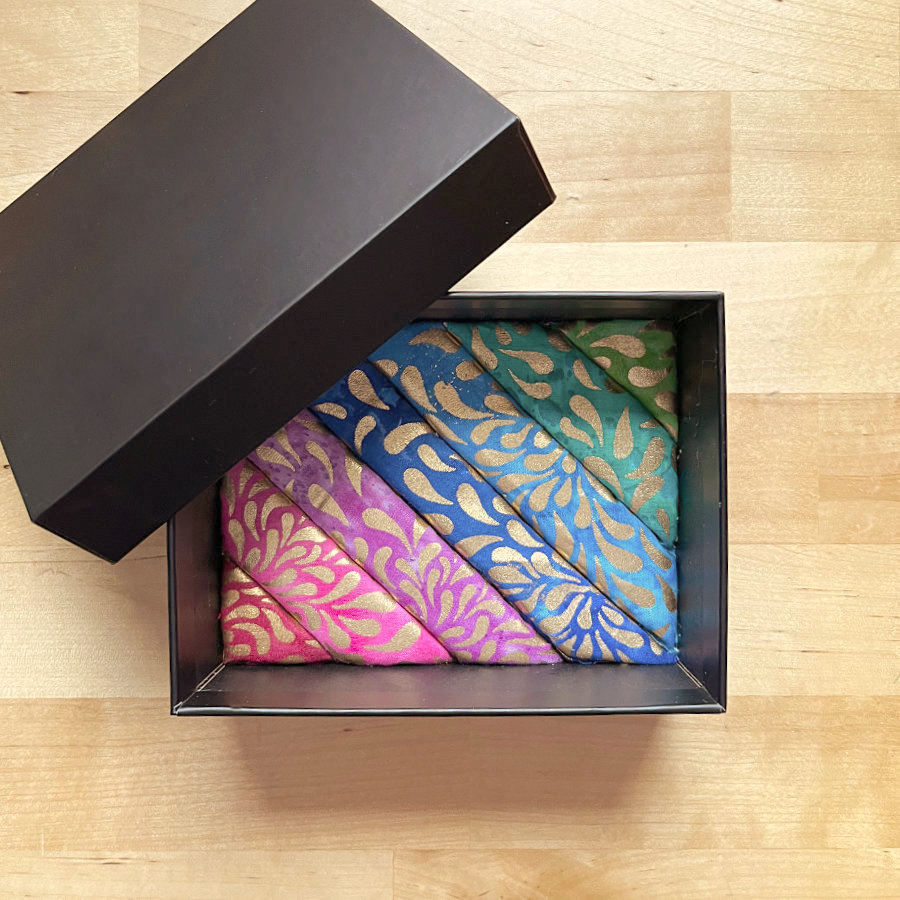
the Finished box
I used to have this nice box, but now I’ve got a super fancy one! I’m planning to turn this into a jewelry box because those grooves are just perfect for keeping my ear studs and rings from rolling all over the place. I’m totally going to make a bunch more – I still have a whole pile of boxes to tackle and plenty of small things to organize, like my knitting tools and sewing goodies. What do you think? Are you going to give this a shot? Drop a comment and let me know!